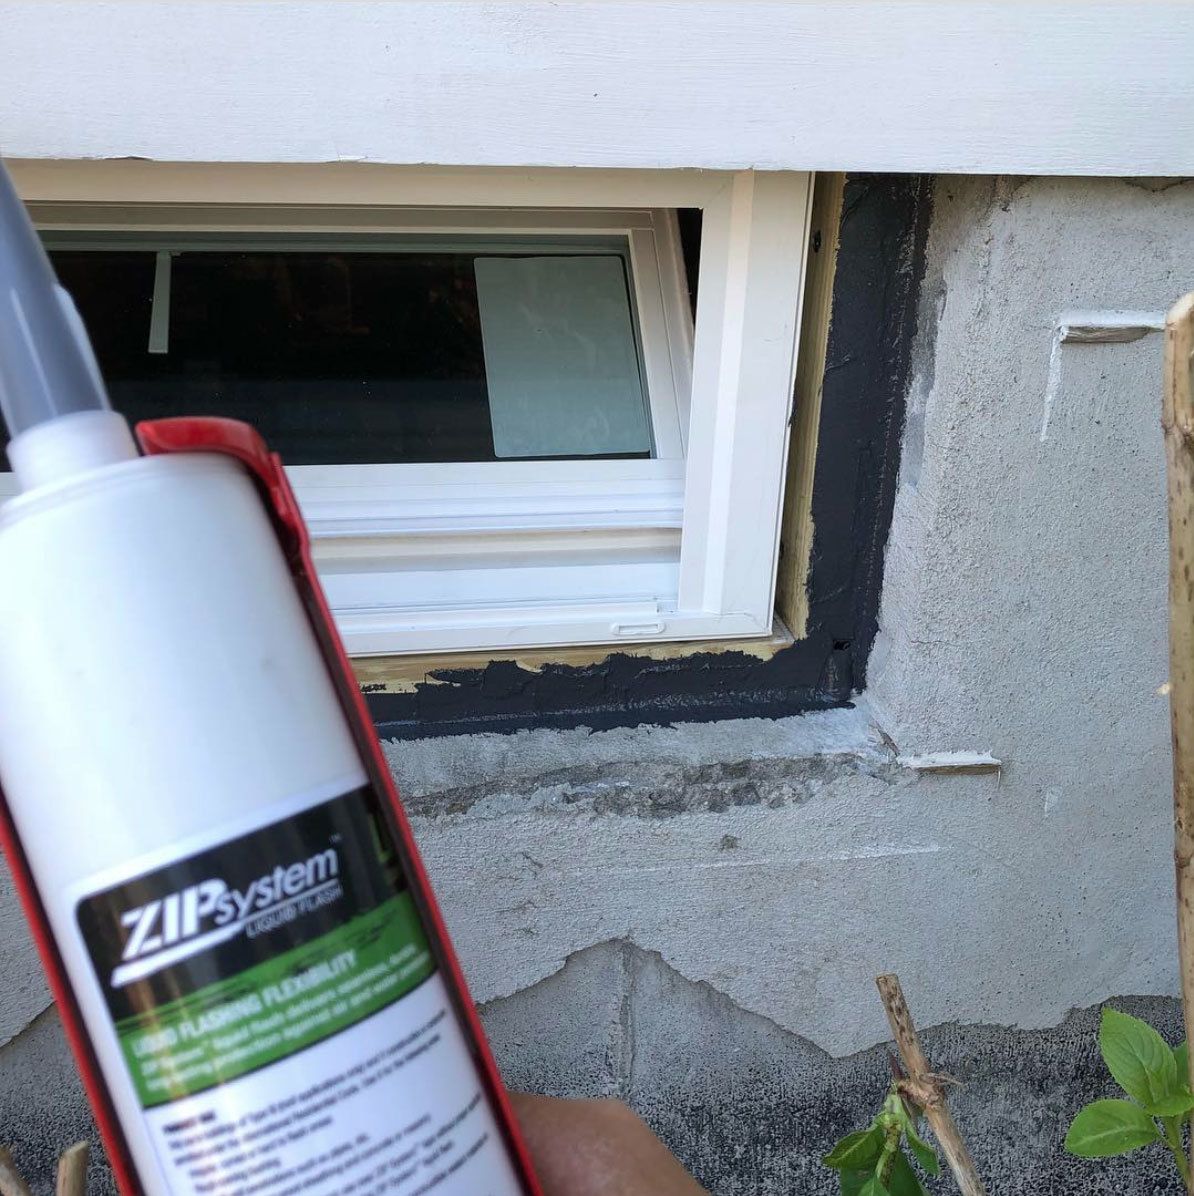
Tired of leaks and drafts turning your home into a wind tunnel? Liquid flashing might be the solution you’ve been searching for. This versatile sealant creates a waterproof, airtight barrier, protecting your home from the elements. Whether you’re a seasoned pro or a weekend warrior, this guide covers everything you need to know about liquid flashing, from understanding the different types to mastering the application process.
Understanding Liquid Flashing
Liquid flashing is a fluid-applied sealant that transforms into a rubbery membrane, providing a continuous, seamless barrier against air and water intrusion. It’s like giving your house a superhero suit against the elements. It excels in tricky areas where traditional flashing struggles, such as complex roof valleys, intricate window details, and pipe penetrations. It adheres to various surfaces, including wood, concrete, masonry, and metal.
Exploring the Different Types
Just like superheroes have different powers, liquid flashing comes in various types:
| Type | Characteristics | Ideal Applications |
|---|---|---|
| STPE | Extremely stretchy and durable, UV resistant | Roofs, walls, below-ground areas, complex geometries |
| Silicone | Flexible, UV resistant, adheres to various materials | Windows, doors, small gaps and cracks, metal roofs |
| Polyurethane | Tough, abrasion-resistant, paintable | Foundations, below-grade applications, areas prone to wear and tear |
Where Liquid Flashing Excels
Liquid flashing truly shines where traditional flashing falls short. Imagine sealing a complex roof valley with rigid metal flashing. Frustrating, right? Liquid flashing flows into every nook and cranny, creating a seamless, waterproof shield. It’s equally effective for intricate window details, pipe penetrations, and even foundation cracks. Essentially, if it needs sealing and it’s a tricky spot, liquid flashing is likely your best bet.
Why Choose Liquid Flashing?
Liquid flashing offers several compelling advantages:
- Seamless Seal: Eliminates gaps and overlaps common with traditional flashing.
- Flexibility: Conforms to any shape, ensuring complete coverage.
- Durability: Provides long-lasting protection against the elements.
- Airtightness: Enhances energy efficiency by sealing air leaks, potentially saving you money on your energy bills.
- Ease of Application: Often faster and easier than traditional methods, especially in complex areas.
Applying Liquid Flashing: A Step-by-Step Guide
-
Surface Preparation: Thoroughly clean the area, removing any dirt, dust, or debris. A clean, dry surface is crucial for proper adhesion. Priming might be necessary depending on the material and manufacturer’s instructions.
-
Application: Apply the liquid flashing with a caulking gun, brush, or roller, depending on the product and application area. Maintain a consistent thickness as you apply.
-
Tooling (Smoothing): Use a trowel or spatula to smooth the surface, ensuring good contact and a professional finish.
-
Curing: Allow adequate curing time as per the manufacturer’s instructions. This time can vary based on the product and environmental conditions.
-
Cleanup: Clean up any excess liquid flashing immediately using the recommended solvent.
Liquid Flashing vs. Traditional Flashing and Tape
Traditional flashing methods, like tape and sheet metal, have their place, especially for simple, straight runs. However, they often lack the flexibility and seamlessness of liquid flashing. While tape might be more cost-effective upfront, consider the potential labor savings of liquid flashing, particularly for complex projects. Curious about header sizes or LVL beam spans for your project? Check out our load bearing header size chart and lvl beam span calculator.
| Feature | Liquid Flashing | Flashing Tape | Traditional Flashing |
|---|---|---|---|
| Application | Complex shapes, penetrations, irregular surfaces | Long, straight runs, simple geometries | Simple, straight runs |
| Cost | Higher material cost, potential labor savings | Lower material cost, potential labor costs | Moderate cost |
| Flexibility | High | Low | Low |
| Durability | High, resistant to weathering and UV | Moderate, dependent on adhesion | High, but can corrode |
Choosing the Right Liquid Flashing
Selecting the right liquid flashing depends on your project’s specific needs:
- Project Type: Roofing, windows, foundations, etc.
- Climate: Temperature fluctuations, UV exposure, rainfall.
- Substrate: Wood, concrete, masonry, metal.
- Budget: Balance performance with cost.
Consult a building professional or your local supplier for guidance.
How Long Does ZIP Liquid Flash Last?
ZIP Liquid Flash, a popular STPE-based liquid flashing, offers impressive longevity:
- Shelf Life (Unopened): Approximately 12 months when stored properly (cool, dry place around 80°F).
- Exposure Limit (Before Covering): 180 days (6 months). Exceeding this may void parts of the warranty related to UV exposure.
- Warranty (with ZIP System sheathing): 30-year limited warranty.
- Temperature Tolerance (Cured): -75°F to 400°F.
While the manufacturer doesn’t explicitly state a lifespan beyond the 180-day exposure limit, the product is engineered for long-term durability. Proper application is key to maximizing its lifespan.
Troubleshooting and Tips
- Poor Adhesion: Ensure thorough surface preparation and consider using a primer.
- Cracking: This can suggest the flashing was applied too thinly or the substrate is experiencing excessive movement.
- Curing Problems: Temperature and humidity can affect curing. Work within the manufacturer’s recommended temperature range.
Safety and Building Codes
Always prioritize safety. Follow the manufacturer’s safety guidelines and wear appropriate PPE. Consult local building codes for specific requirements related to flashing installation.
While the information presented here is current, ongoing research in building materials continues. For example, studies are exploring the long-term effects of UV exposure on different liquid flashing types. This evolving understanding reinforces the importance of staying informed and following manufacturer guidelines. By choosing the right product and applying it correctly, you can create a durable, weathertight seal that protects your home for years to come.
- Dora the Explorer Wipe-Off Fun: Safe & Mess-Free Activities for Little Explorers - April 18, 2025
- Does Lemongrass Repel Mosquitoes? Fact vs. Fiction + How to Use It - April 18, 2025
- Do Woodchucks Climb Trees?Fact vs. Fiction - April 18, 2025


