Transform tired hardwood floors with a fresh coat of paint – a cost-effective alternative to refinishing. This comprehensive guide covers everything from prep to design inspiration, empowering you to achieve professional-looking results.
Prepping Your Hardwood Floors: The Foundation for Success
Think of prepping as laying the groundwork for a masterpiece. A clean, smooth surface is crucial for paint adhesion and a flawless finish.
1. Clearing the Canvas
- Remove everything: Relocate furniture, rugs, and any obstacles to create a clear workspace.
- Repair imperfections: Fill gaps, cracks, and holes with wood filler, allowing ample drying time and sanding for a seamless look.
2. Sanding for Smoothness
- To sand or not?: Light sanding is often necessary to create a smooth surface for paint adhesion. However, heavy sanding might be required for previously painted or heavily worn floors.
- Grit matters: Consult a paint specialist or flooring expert to determine the appropriate sandpaper grit for your specific needs.
3. Cleanliness is Key
- Deep clean: Thoroughly clean the floor to remove dust, debris, and sanding residue. A vacuum cleaner equipped with a brush attachment works well for this purpose.
- Tack it up: Use a tack cloth for a final pass, ensuring a pristine surface for optimal paint adhesion.
Priming: The Key to a Lasting Finish
Priming acts as a crucial intermediary between your floors and the paint, creating a uniform base, improving adhesion, and preventing bleed-through.
Choosing the Right Primer
- Wood-Specific Primer: Opt for a primer specifically designed for hardwood floors to ensure optimal performance and compatibility with your chosen paint.
- Stain-Blocking Power: If painting over a darker stain or concerned about bleed-through, choose a stain-blocking primer for added protection.
Applying the Primer
- Thin and Even Coats: Using a brush or roller, apply a thin, even coat of primer, following the direction of the wood grain for a seamless look.
- Drying Time: Allow the primer to dry completely according to the manufacturer’s instructions before moving on to the painting stage.
Painting Your Hardwood Floors: Techniques for a Flawless Finish
Now for the transformation! Choosing the right paint and application techniques are crucial for achieving a beautiful and durable finish.
Selecting the Perfect Paint
- Durability is paramount: Choose a paint specifically designed for floors to withstand foot traffic, scratches, and spills.
- Types of floor paint:
- Latex enamel: Water-based, known for durability, easy cleanup, and quick drying time.
- Oil-based enamel: More durable and moisture-resistant, ideal for high-traffic areas but has a longer drying time and stronger odor.
- Porch and floor paint: Formulated for surfaces exposed to the elements, offering exceptional durability and often slip resistance.
Navigating Sheen Selection
The sheen refers to the level of glossiness in the paint, influencing both the look and durability of your floors.
- Matte: Non-reflective, great for hiding imperfections but can be harder to clean.
- Satin: Popular choice, offering a balance of subtle shine and easy maintenance.
- Semi-gloss: Noticeable sheen, more durable and easier to wipe clean, but highlights imperfections.
- Gloss: Shiniest option, maximum durability and washability, but shows every flaw.
Mastering Application Techniques
- Thin coats for the win: Applying thin, even coats is crucial for preventing peeling, cracking, or uneven drying. Two thin coats are always better than one thick one.
-
Tools of the trade:
- Brush: Ideal for cutting in around the edges and corners, ensuring precise application in tight spaces.
- Roller: Perfect for covering large areas quickly and evenly, creating a smooth and consistent finish.
- Sprayer: Fastest option but can be messy and requires proper ventilation and experience for optimal results.
-
Working in sections: To avoid lap marks, work in manageable sections, blending each section into the next while the paint is still wet.
Sealing for Protection and Longevity
Sealing your painted floors is the final and essential step, providing a protective shield against everyday wear and tear, enhancing durability, and preserving their beauty.
Choosing the Right Sealer
- Polyurethane: The most popular choice, known for its exceptional durability. It comes in both water-based (faster drying, less odor) and oil-based (slightly amber tint, more durable) formulas.
- Water-based sealant: Generally low-odor, easy to apply, and a good choice for DIY enthusiasts.
- Oil-based sealant: Offers a slightly more durable finish but may take longer to dry and have a stronger odor.
Sheen Selection for Sealers
Yes, you get to choose the sheen level for your sealer too! You can match it to your paint sheen or go for a slightly different look.
Applying the Sealer
- Thin and even coats are key: Just like with the paint, apply the sealer in thin, even coats, following the manufacturer’s instructions for drying times between coats.
- Multiple coats for enhanced protection: Two to three coats of sealer are generally recommended for optimal durability, especially in high-traffic areas.
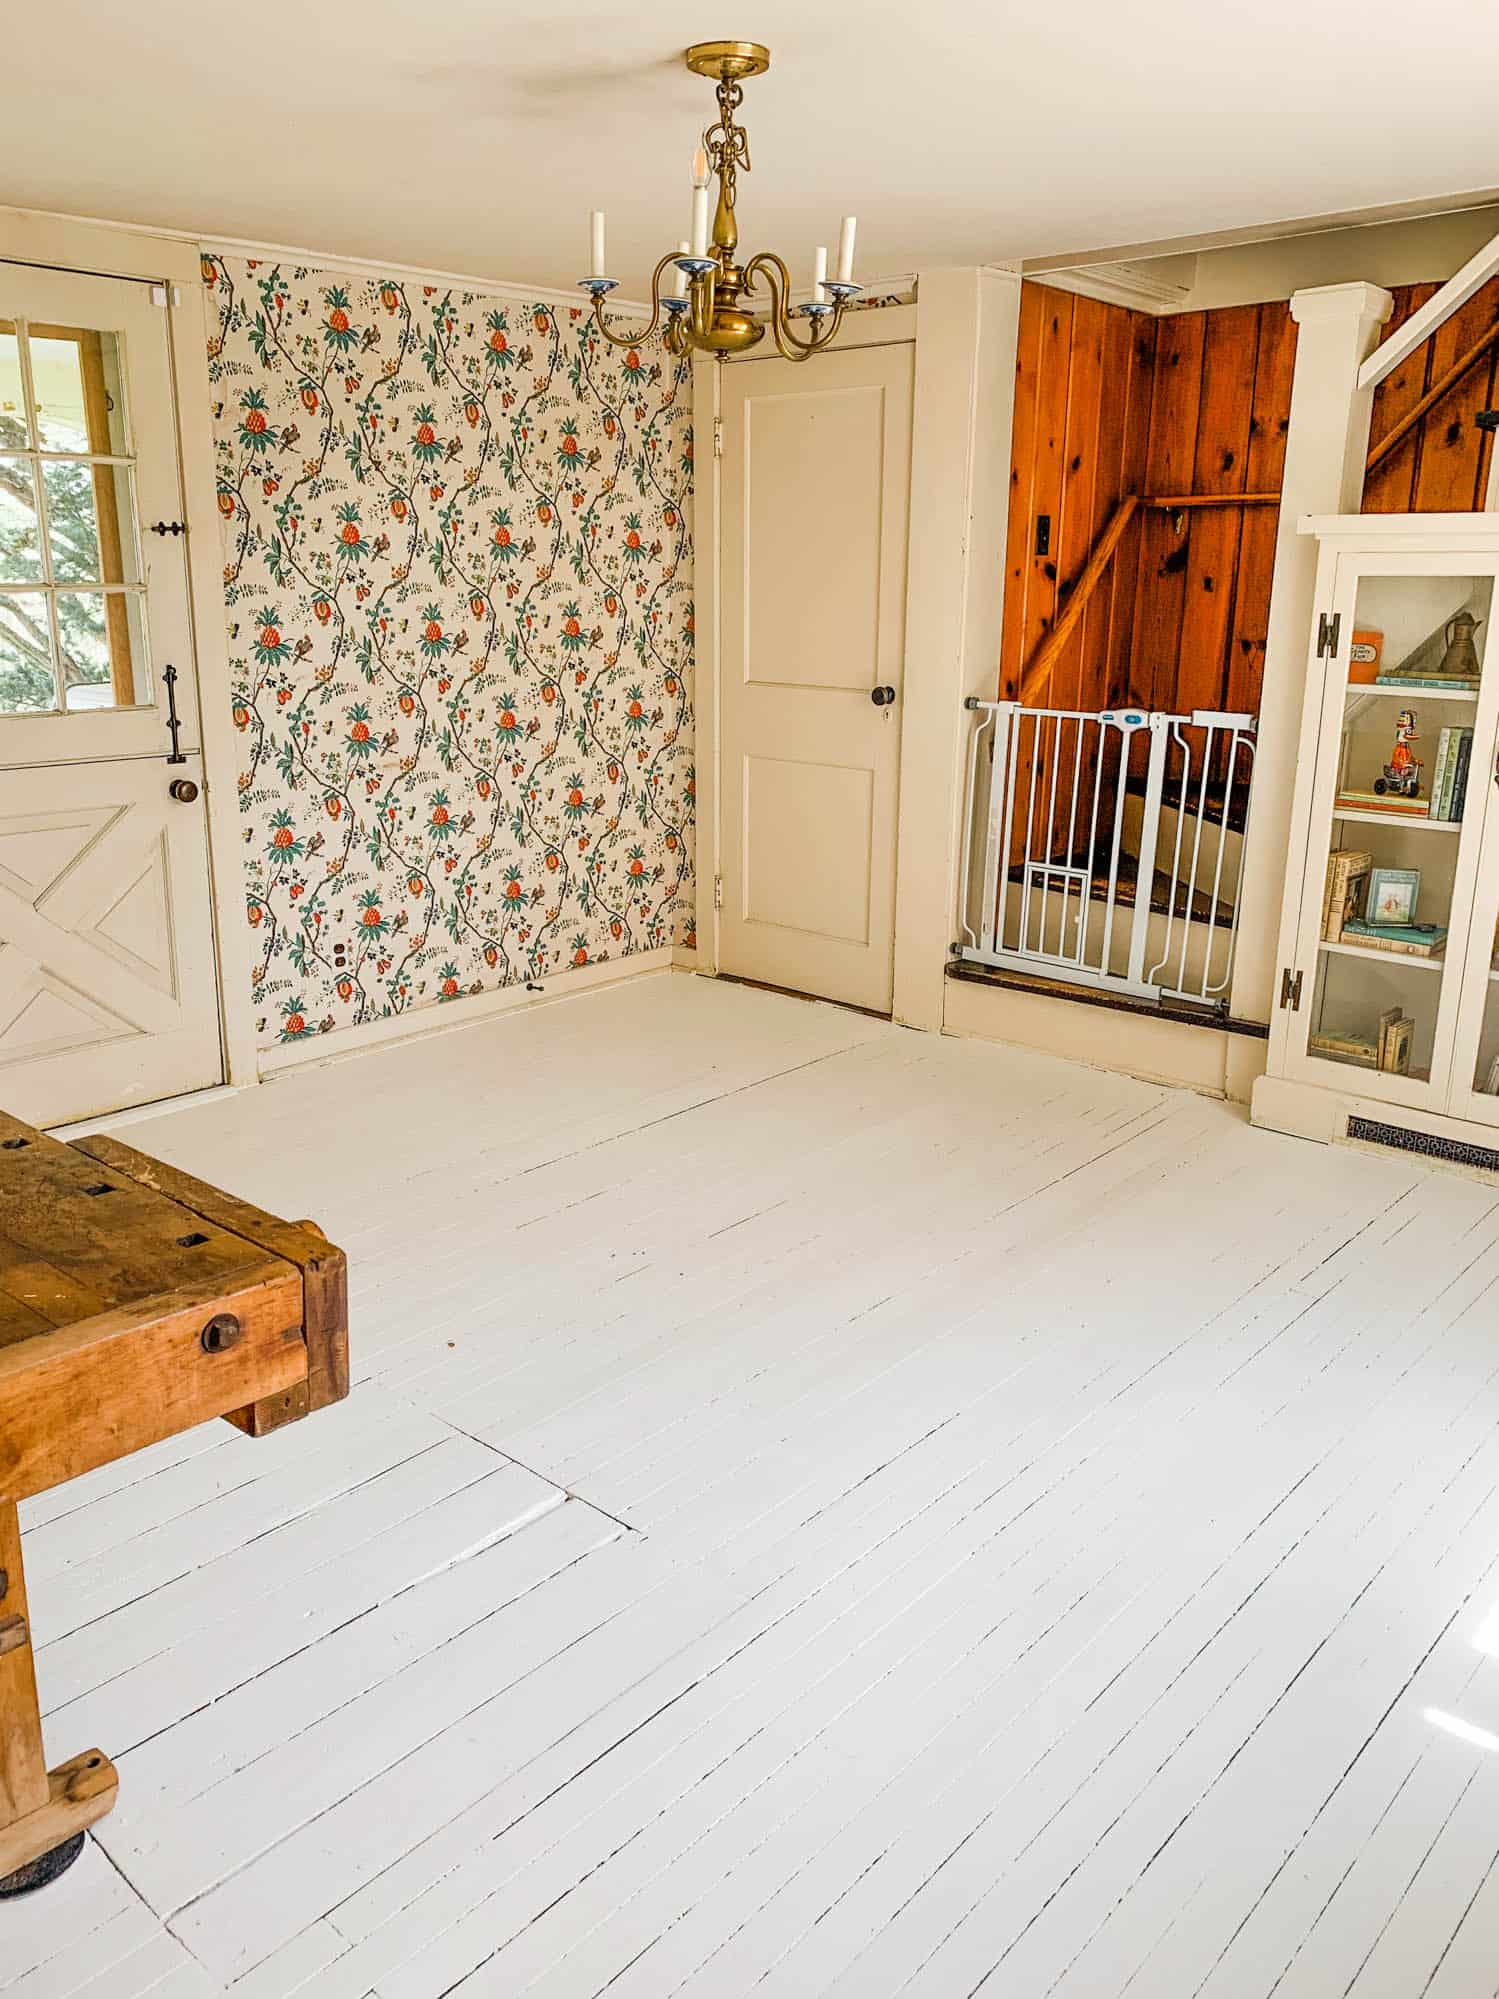
Design Inspiration: Beyond Basic White
Beyond basic white: Explore endless color and pattern possibilities to elevate your interior design with painted hardwood floors that make a statement.
Color Choices: Setting the Mood
- Classic white: Timeless and versatile, making spaces appear larger and brighter.
- Bold and dramatic: Explore trending colors like navy, black, or deep greens for a statement floor.
- Light and airy: Pastels and light neutrals create a fresh and inviting atmosphere.
Pattern Play: Adding Personality
- Checkerboard floors: A classic and elegant choice, achievable with painter’s tape and careful planning.
- Stenciled designs: Create intricate patterns and custom designs for a unique touch.
- Geometric shapes: From stripes to chevrons to hexagons, geometric patterns add a modern and eye-catching element.
Maintenance and Care: Keeping Floors Fabulous
- Regular cleaning: Sweep or vacuum regularly to remove dirt and debris. When it’s time for a deeper clean, use a cleaner specifically designed for painted wood floors.
- Protection is key: Place felt pads under furniture legs to prevent scratches. Use doormats to trap dirt and moisture at entryways.
- Area rugs: Consider area rugs in high-traffic areas for extra protection and a pop of style.
Alternatives to Traditional Sanding: Can You Skip It?
While traditional sanding is often recommended for optimal results, there are instances where it might be possible to paint wood floors without sanding. However, this approach might not be suitable for all situations.
When Skipping Sanding Might Work
- Relatively good condition: If your floors are in relatively good shape, with only minor scratches and a worn-out finish, skipping sanding might be possible.
- Sound existing finish: The old finish can act as a base for the paint to grip onto, but it needs to be clean, sound, and free of any peeling or flaking.
When Sanding is Likely Necessary
- Severely damaged floors: Deep gouges, scratches, or significant imperfections will likely require sanding to create a smooth and level surface.
- Layers of old paint: If your floors have layers of old, peeling paint, sanding is often necessary to ensure proper adhesion of the new paint.
Painting Hardwood Floors Without Sanding: A Step-by-Step Guide
If your floors are suitable candidates for painting without sanding, here’s a step-by-step guide to achieve satisfactory results:
- Deep clean: Start by thoroughly cleaning the floors, removing all dust, debris, and grime. Use a heavy-duty cleaner specifically designed for floors.
- Deglossing: Apply a liquid deglosser to remove the existing finish and any lingering contaminants that might hinder paint adhesion. Follow the product instructions carefully.
- Priming is essential: Apply a primer specifically designed for wood floors to create a smooth and even surface for the paint.
- Paint application: Choose a high-quality paint formulated for wood floors and apply two to three thin coats, allowing each coat to dry completely before applying the next.
- Sealing for protection: Once the paint has cured, apply a clear sealer to protect the finish from scratches, spills, and wear and tear.
Pros and Cons of Skipping Sanding
Pros:
- Time-saver: Eliminates the time and effort required for sanding.
- Less mess: Avoids the dust and debris associated with sanding.
- Cost-effective: Potentially more budget-friendly, as it eliminates the need for sanding equipment rental or professional services.
Cons:
- Durability concerns: Might not be as durable as a finish achieved with sanding, especially in high-traffic areas.
- Imperfection close-ups: Imperfections might show through the paint if the floors aren’t perfectly smooth.
- Unsuitable for all floors: Severely damaged or painted floors typically require sanding for optimal and lasting results.
Conclusion: Is Painting Hardwood Floors Right for You?
Painting hardwood floors can be an excellent way to transform your space on a budget, offering a range of design possibilities. By carefully considering the pros and cons, assessing the condition of your floors, and following the guidelines outlined in this guide, you can achieve a stunning and durable finish that breathes new life into your home.

- How to Get Rid of Mushrooms in Your Lawn: A Complete Guide - April 24, 2025
- How to Get Rid of Ground Hornets: A Safe and Effective Guide to Eliminating Nests - April 24, 2025
- How to Get Rid of German Roaches Fast: DIY Methods for Quick Control - April 24, 2025