Calling all kitchen enthusiasts! Ready to spruce up your space without breaking the bank? Painting your cabinets is a magical way to give your kitchen a whole new vibe. Whether you’re a fearless DIYer or want to leave it to the pros, this step-by-step guide will unleash your inner kitchen master and show you how to paint your cabinets like a total boss. So brace yourself for some before-and-after pics that will make your jaw drop and inspire you to unleash the hidden potential of your kitchen!
Breathing New Life into Your Kitchen: The Power of Paint
Let’s face it, sometimes our kitchens need a little pick-me-up to feel new and exciting again. But a complete remodel? That can feel overwhelming and, let’s be honest, pricey. The good news? You can completely transform your kitchen without breaking the bank, all with a little paint and some elbow grease. Intrigued? We’re talking about the magic of painting your kitchen cabinets. This simple update can take your kitchen from drab to fab, and we’re here to show you how.
Assembling Your Renovation Dream Team: Essential Supplies
Before you dive into your kitchen cabinet makeover, you’ll need to round up a few essential supplies. Think of it like gathering your team of renovation superheroes:
- Cleaner: This might seem basic, but trust us, a good scrub-down is essential. Grease, grime, and cooking residue can sabotage your paint job, so start fresh. A good degreasing cleaner is your best bet.
- Sandpaper: You don’t need to go full-on sanding extravaganza here. The goal is to gently rough up the surface of your cabinets, giving the primer something to grip onto. Medium-grit sandpaper will do the trick.
- Primer: Primer is like the base coat for your cabinets; it creates an even surface for the paint to adhere to, ensuring a smooth, professional-looking finish. Look for a primer specifically designed for use on cabinets.
- Paint: Now for the fun part! Choose a high-quality paint that’s formulated to withstand the wear and tear of kitchen life. You’ll find paints specifically labeled for cabinets, often with added durability and scrub resistance.
- Brush or Roller: The choice is yours, but many find that a combination of a brush for detail work and a small roller for larger, flatter surfaces delivers the smoothest results.
- Hardware: New hardware can be like jewelry for your newly painted cabinets! Consider replacing outdated knobs and pulls with sleek and stylish options that complement your new color scheme.
From Drab to Fab: Your Step-by-Step Transformation Guide
Alright, let’s get down to business. Here’s your roadmap to stunning, revitalized kitchen cabinets:
- Prep Work is Key: Remember that degreasing cleaner? Now’s its time to shine. Thoroughly clean every nook and cranny of your cabinets, removing all traces of grease and grime. Once your cabinets are sparkling clean, give them a light sanding.
- Prime Time: With your cabinets prepped and ready, apply a smooth, even coat of primer. This crucial step will help your paint adhere properly and prevent any unwanted bleed-through from the original finish. Let the primer dry completely before moving on.
- Painting Perfection: Now for the main event – applying your chosen paint color. For a smooth, streak-free finish, apply thin, even coats, allowing each coat to dry completely before applying the next. Two to three coats are usually sufficient for optimal coverage and depth of color.
- The Finishing Touches: Once your final coat of paint is dry, it’s time to add any finishing touches that tickle your fancy. A clear coat provides extra protection, especially in high-traffic kitchens. Or perhaps you’re drawn to a more rustic or vintage look? If so, consider distressing the edges for a touch of antique charm.
Witness the Magic: Before & After Inspiration
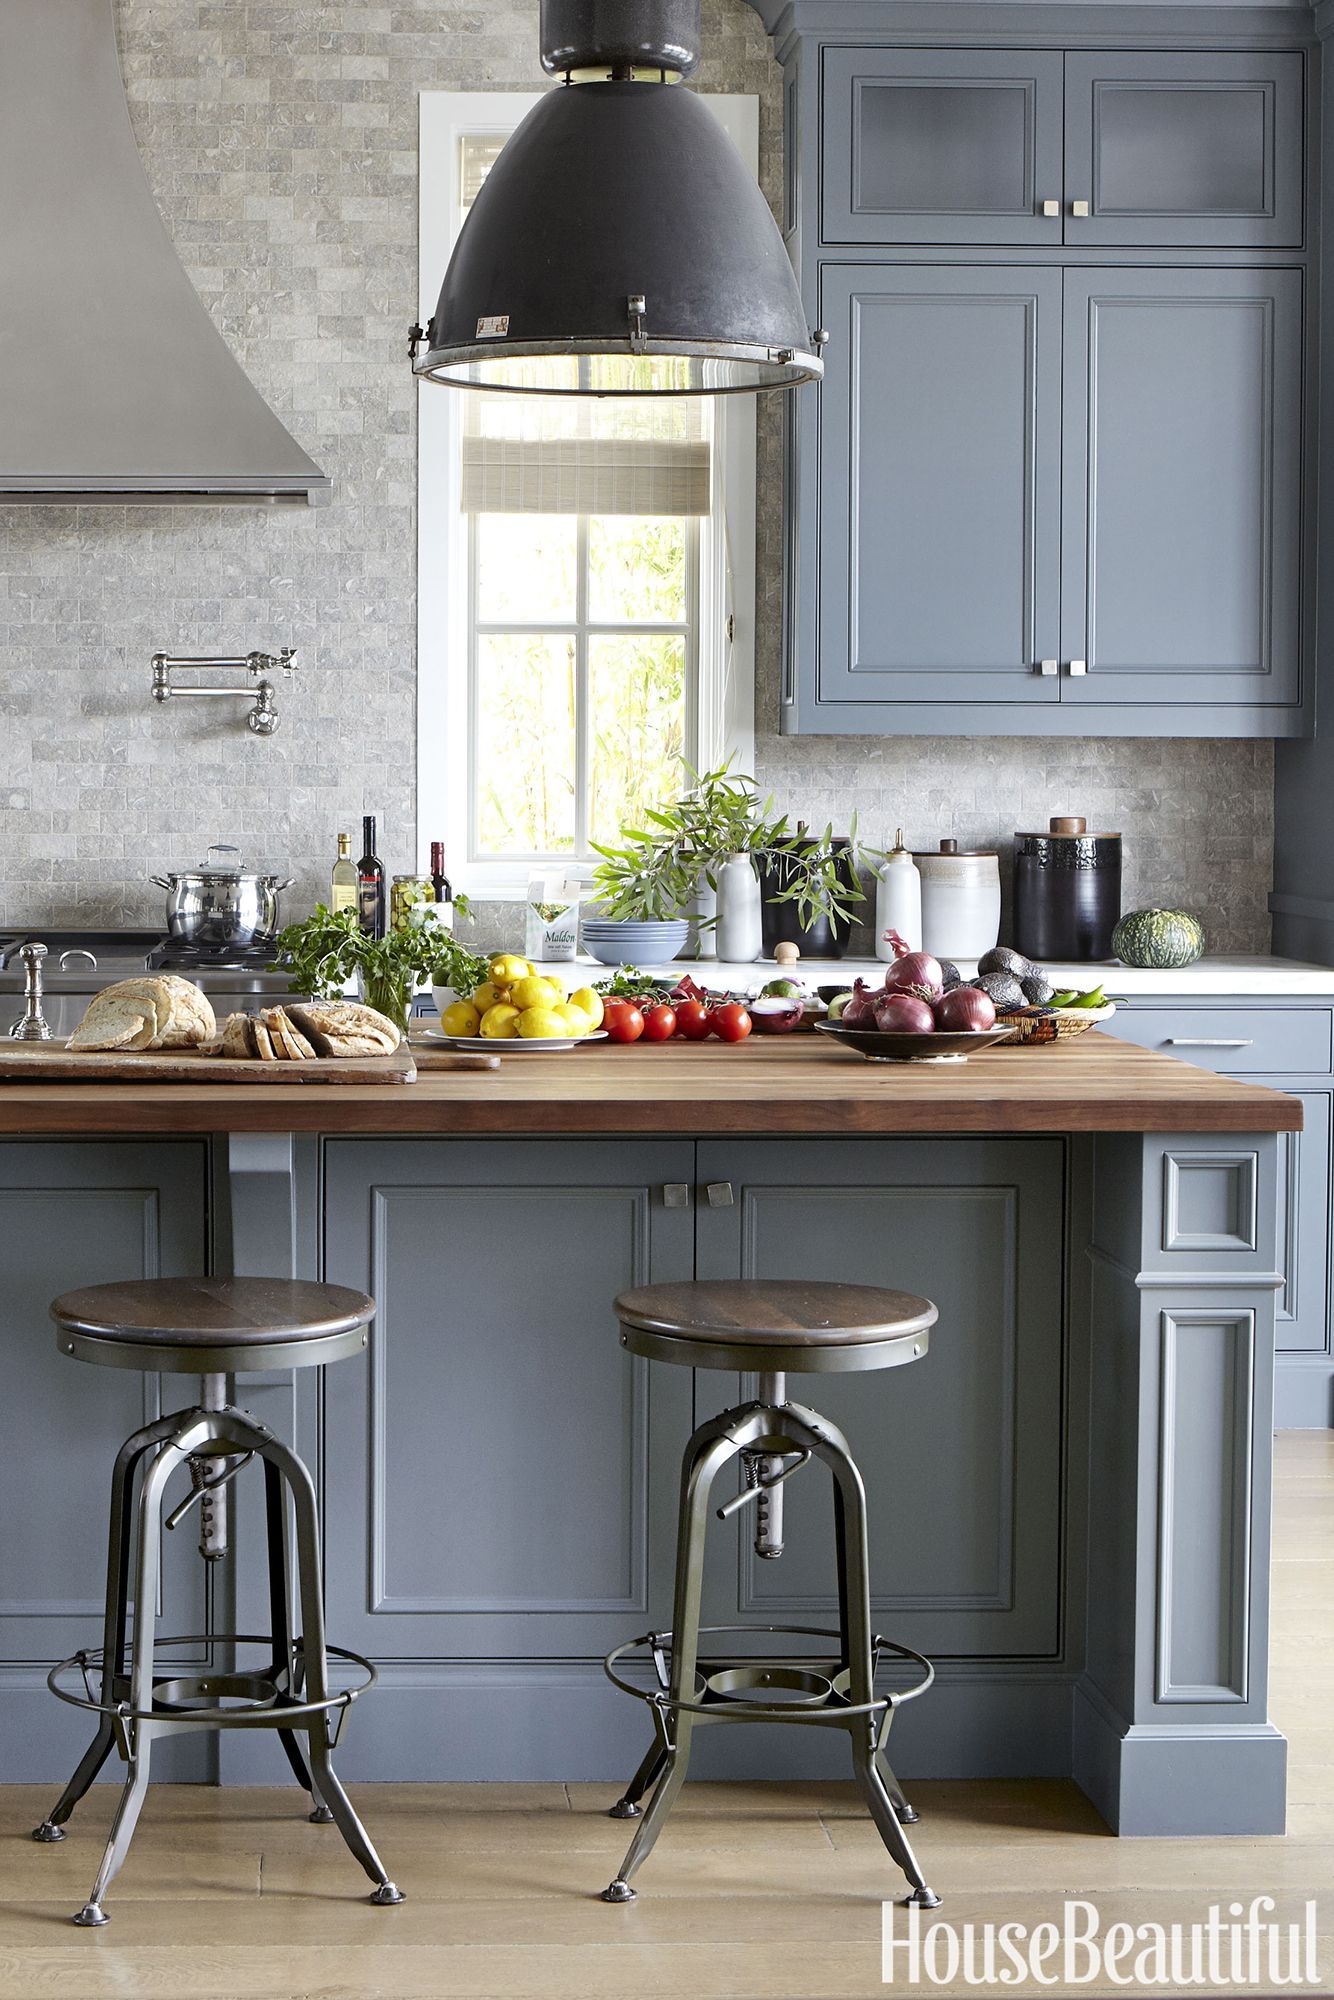
Still need a little convincing? Picture this: dark and dated oak cabinets transformed into a vision of modern elegance with a crisp white finish. Or imagine tired laminate cabinets bursting back to life with a bold and vibrant blue hue. The possibilities are endless! Even classic shaker cabinets can be given a fresh perspective with a contrasting paint color on the recessed panels, highlighting their timeless appeal.
Pro Tips from the Trenches
Want to ensure your painting project goes off without a hitch? These insider tips will set you up for success:
- Quality Over Quantity: Investing in high-quality paint and materials might mean spending a bit more upfront, but the results will be well worth it. High-quality paints offer better coverage, durability, and a smoother, more professional-looking finish.
- Patience is a Virtue: We get it; you’re eager to see your transformed kitchen. But resist the urge to rush the drying process. Allow ample drying time between coats to prevent the paint from peeling or becoming tacky.
- Protection is Paramount: Painting can be messy business. Protect your countertops, floors, and anything else you don’t want splattered with paint by covering them with drop cloths or plastic sheeting.
- Know Your Limits: Painting cabinets can be a bit more involved than painting a wall. If you’re unsure about tackling this project yourself, consider calling in a professional painter. It might save you time, effort, and potential frustration in the long run.
There you have it – your guide to a dramatic kitchen cabinet makeover! With a bit of time, effort, and a dash of creativity, you can achieve impressive results that will have you falling in love with your kitchen all over again. So go ahead, unleash your inner DIY enthusiast and prepare to be amazed by the transformative power of paint!
Unlocking the Potential: Is Painting Kitchen Cabinets Right for You?
Painting your kitchen cabinets can be a game-changer, breathing new life into the heart of your home. But like any home improvement project, it’s wise to weigh the potential benefits and drawbacks before diving in.
Could a fresh coat of paint be the right choice for your cabinets?
Before you grab a paintbrush, take a moment to consider your cabinets’ material. If they’re made of laminate or metal, painting them might require some extra steps. It’s totally doable, but you’ll probably need a special primer to ensure the paint sticks properly and lightly sand the surfaces for a smooth and even finish.
Choosing the Perfect Outfit: Selecting the Right Paint
Choosing the right paint is like selecting the perfect outfit for your cabinets – it’s all about finding the best match! For wooden cabinets, you’ve got options like latex or oil-based paints. Latex is like the easy-going friend – it’s a breeze to apply and dries quickly. Oil-based paint, on the other hand, is known for its durability and sleek, smooth finish.
Prepping for Success: Your Cabinets as a Canvas
Imagine your cabinets as a canvas – you wouldn’t start painting without prepping the surface, right? The same goes for your cabinets. Giving them a thorough cleaning and removing all the hardware is essential. A light sanding will help create a smooth surface for the paint to adhere to, ensuring a flawless result.
Time to Paint!: Bringing Your Vision to Life
With your cabinets prepped and ready, it’s time for the fun part! Apply thin, even coats of paint, allowing each coat to dry completely before moving on to the next. Depending on the color and coverage you’re aiming for, you might need two or three coats to achieve that magazine-worthy finish.
Adding Sparkle: Finishing Touches for a Polished Look
Once the paint has dried completely, it’s all about the finishing touches. This is where your personal style shines through! Think about adding new hardware for a touch of elegance or a clear coat to protect your freshly painted surfaces and keep them looking their best.
Calling in the Experts: When to Consider a Pro
If the thought of tackling this project yourself feels a bit overwhelming, hiring a professional painter is always a good option! It’s especially helpful if you have a larger kitchen or are aiming for a super high-quality finish.
Weighing the Pros and Cons: Is Painting Right for You?
The Upsides of Painting Your Cabinets
- Budget-friendly beauty: Painting your kitchen cabinets is a fantastic way to update your kitchen without spending a fortune on a complete remodel. It’s a budget-conscious way to achieve a big impact.
- DIY Delight: Painting cabinets is a project that many homeowners find manageable and even enjoyable! It’s a satisfying way to put your DIY skills to work and personalize your space.
- Boosting Home Value: A kitchen refresh, including freshly painted cabinets, can potentially increase your home’s value in the eyes of potential buyers.
- Transformative Power: A fresh coat of paint can completely transform the look and feel of your kitchen. It’s amazing how such a simple change can create a whole new ambiance.
Things to Consider
- The Time Factor: Painting your kitchen cabinets can be a bit time-consuming, especially if you’re doing it yourself. It’s important to factor in the time commitment before getting started.
- Durability Considerations: While painted cabinets can last for many years with proper care, they might not be as durable as brand-new cabinets. Touch-ups might be needed down the line.
- The Quest for Perfection: Achieving that flawless, professional-looking finish can be a bit tricky. It often takes practice and patience to get it just right.
Outperforming the Competition: Can I Just Paint Over My Kitchen Cabinets?
So, you’re thinking about giving your kitchen a fresh look without replacing those old cabinets? Painting them yourself can be a budget-friendly way to revamp your space. But hold on! Before you grab a brush and your favorite color, let’s talk about whether you can just paint over your existing cabinets.
The truth is, it’s not a simple yes or no answer. It depends on what your cabinets are currently sporting.
Clear Coat? Time for a Strip Tease!
If your cabinets have that shiny, protective clear coat finish, painting directly over them is probably not the best idea. You see, paint doesn’t really like to stick to those slick surfaces. Think of it like trying to put a sticker on a greased watermelon. To get the paint to adhere properly and prevent peeling down the road, you’ll need to strip off that clear coat and take it down to the bare wood. It might sound like a pain, but trust me, it’s worth it for a lasting finish.
Existing Paint? Prep is Key!
Now, if your cabinets are already rocking a coat of paint, you might be in luck! You can usually get away with painting over it, but don’t get too excited just yet. Prepping those surfaces is absolutely crucial for a smooth and successful paint job.
Prepping Like a Pro (without the Pro Price Tag)
- Clean, Clean, Clean: Kitchens, let’s face it, are prone to grease and grime. Give your cabinets a good scrub-down with a strong degreaser to remove any cooking residue.
- Sanding for Success: Lightly sanding the surfaces creates tiny grooves that help the new paint grip on tight. Don’t go overboard, just a light sanding to create some texture.
Choosing the Right Paint: Not All Paints Are Created Equal
When it comes to painting kitchen cabinets, the type of paint you choose really matters. Opt for high-quality paint that’s specifically designed for cabinets. These paints are usually more durable and can withstand the wear and tear that comes with everyday kitchen use.
Painting Tips for a Professional Look
- Thin is In: Apply multiple thin coats of paint, allowing each coat to dry completely before moving on to the next. This helps prevent drips and ensures an even finish.
- Tools of the Trade: A quality brush or roller will be your best friend. Make sure to get into all the nooks and crannies, especially around molding and details.
- Seal the Deal: Once the paint is completely dry, consider adding a clear coat for extra protection and a polished look.
DIY or Call in the Pros?
Deciding whether to tackle this project yourself or hire professionals depends on a few things:
- Your Skill Level: How comfortable are you with painting? Cabinets require a bit of finesse for a flawless finish.
- Your Time: Prepping and painting cabinets can be time-consuming.
- Your Budget: DIY is generally less expensive, but professionals bring experience and efficiency.
The Bottom Line
Painting your kitchen cabinets can breathe new life into your space. By assessing your cabinet’s current situation and investing a bit of time in preparation, you can achieve fantastic results. Whether you choose to DIY or bring in the experts, a fresh coat of paint can work wonders for your kitchen’s style and your home’s overall feel!
Outperforming Your Competition: Can You Paint Over Cabinets Without Sanding?
So, you’re ready to give your kitchen cabinets a makeover without the dust cloud of sanding? You’re in luck! While sanding is usually the gold standard for a smooth and lasting finish, it’s not always absolutely necessary. Let’s dive into how to revamp your cabinets without reaching for the sandpaper.
Now, you can’t just slap paint on any surface and expect miracles. The success of skipping the sanding step really depends on what your cabinets are made of and what kind of finish they already have. Laminate cabinets are pretty forgiving, and you can often get away with not sanding them. Wood cabinets, however, are a bit trickier, especially if they’ve already been painted or varnished.
This is where the magic of liquid sandpaper and bonding primers comes in. Liquid sandpaper is a chemical solution that basically roughens up the surface of your cabinets, giving the primer something to grab onto. Think of it like creating tiny little “teeth” for the paint to cling to. Bonding primers are designed specifically for slick surfaces like cabinets, and they act like a glue, making sure your paint doesn’t chip or peel off.
Let’s break down the process of painting your cabinets without sanding, step-by-step:
Step 1: Deep Clean and Degloss
First things first, you need to give your cabinets a thorough cleaning to remove any grease, grime, or food splatters. Use a strong cleaner designed for this purpose. After cleaning, it’s time to degloss. You can use a deglosser or liquid sandpaper to roughen up the surface and get it ready for the primer.
Step 2: Prime Time
Once your cabinets are clean and deglossed, apply a thin, even coat of bonding primer. Make sure to use a brush or roller that’s designed for smooth surfaces. Allow the primer to dry completely before moving on to the next step.
Step 3: Paint it Beautiful
Now for the fun part! Choose a high-quality cabinet paint that’s specifically formulated for durability and easy cleaning. Apply thin, even coats of paint, allowing each coat to dry completely before applying the next. Two coats are usually enough for a nice, even finish.
But, Sometimes Sanding is Still Your Friend
While you can often get away with not sanding, there are a few situations where it might be necessary:
- Peeling or Chipping Paint: If your cabinets have existing paint that’s peeling or chipping, you’ll need to sand away the loose paint to create a smooth base for the new paint to adhere to.
- Deep Scratches or Gouges: For deep scratches or gouges, you’ll want to fill the imperfections with wood filler and then sand it smooth before priming.
- Super Glossy Finishes: If your cabinets have an extremely glossy finish, lightly sanding the surface can help create better adhesion for the primer and paint.
In Conclusion
Painting your cabinets without sanding is totally doable and can save you time and effort. Just remember to properly prepare your cabinets by cleaning, deglossing, and using a bonding primer. And don’t be afraid to use a light touch with the sandpaper if you encounter any stubborn spots. With a bit of care and attention, you can give your kitchen a fresh, new look without breaking a sweat (or creating a dust storm!).

- Memorial Stones for Gardens: A Guide to Creating a Lasting Tribute - April 29, 2025
- Melon Cut Diamonds: A Comprehensive Guide - April 29, 2025
- MarketStreet Lynnfield Stores: A Complete Directory & Shopping Guide - April 29, 2025