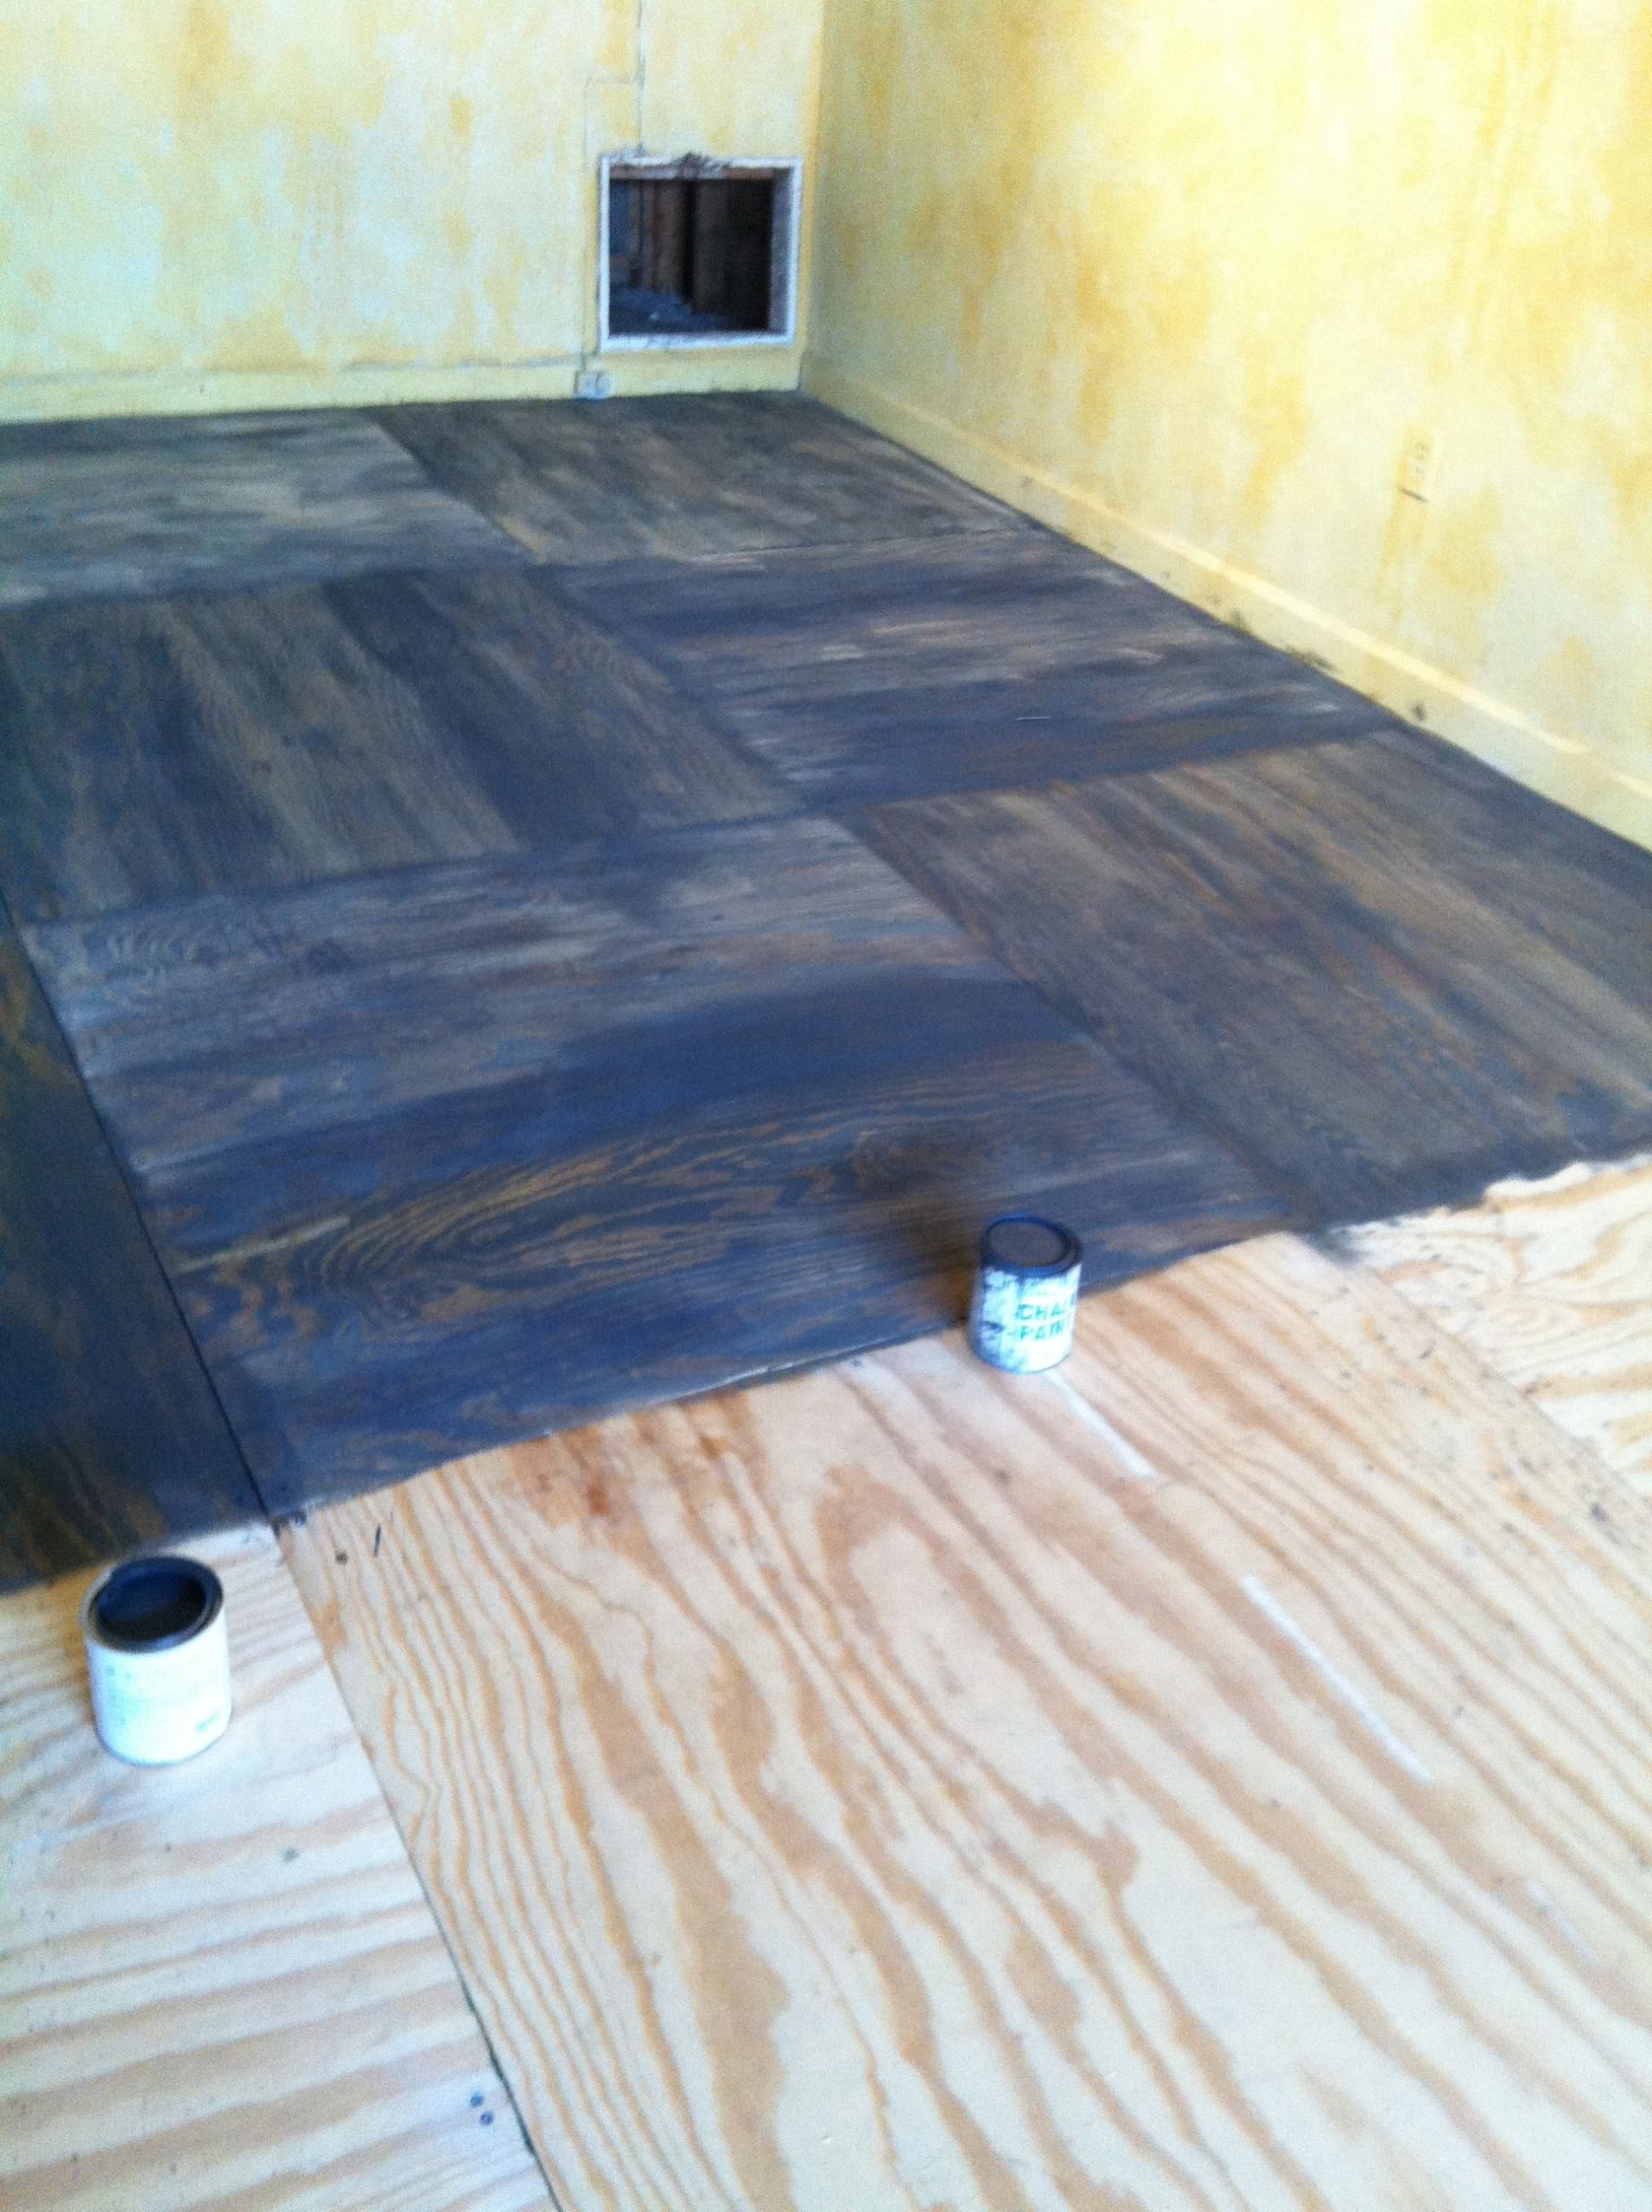
Painting plywood can seem daunting, but with the right techniques, you can achieve professional-looking results. This comprehensive guide provides step-by-step instructions, helpful tips, and troubleshooting advice to empower you to transform your plywood projects.
Preparing Your Plywood: The Foundation for Success
Proper preparation is paramount for a smooth, durable finish. Think of it as building a house—a solid foundation is essential.
Inspection and Repair
- Inspect: Carefully examine your plywood for any imperfections like dents, gouges, or knots.
- Fill: Liberally apply wood filler to any imperfections, overfilling slightly to account for shrinkage during drying. Allow the filler to dry completely according to the manufacturer’s instructions.
- Sand: Smooth the filled areas and the entire plywood surface with fine-grit sandpaper (180-220 grit). This creates a slightly textured surface, providing “anchors” for the primer to grip.
Cleaning and Priming
- Clean: Dust, dirt, and grease are the enemies of a good paint job. Thoroughly wipe down the plywood with a tack cloth. A clean surface is vital for proper paint adhesion.
- Prime: Applying a primer is crucial, especially for plywood. It seals the wood, prevents uneven paint absorption, and provides a uniform base for the paint to adhere to. An oil-based primer is generally recommended for interior projects, while a stain-blocking primer is best for knots or stains. For exterior projects, always use an exterior-grade primer designed to withstand the elements. [https://www.wavesold.com/painting-stucco]
Why This Step is Important: Proper preparation ensures that the paint adheres correctly and creates a smooth, even finish, preventing issues like bubbling and peeling down the line.
Choosing the Right Paint: A Spectrum of Options
The best paint for plywood depends on the project’s location and purpose.
Interior Paints
- Acrylic Latex: A versatile choice for interior walls and crafts, offering easy application and cleanup.
- Acrylic Enamel/Alkyd: Provides a harder, more durable finish suitable for cabinets and furniture, which experience more wear and tear.
- Mildew-Resistant: Essential for bathrooms and other high-moisture areas. Satin or semi-gloss finishes are recommended for their cleanability and moisture resistance.
Exterior Paints
- Exterior-Grade Acrylic Latex/Oil-Based: Formulated to resist fading, cracking, and peeling, even in harsh weather conditions. [https://www.wavesold.com/painting-over-stained-wood]
Applying the Paint: Techniques and Tips
With your plywood prepped and primed, it’s time to add color!
Application Methods
- Brush: Ideal for detail work and tight corners.
- Roller: Perfect for covering large, flat surfaces quickly and efficiently.
- Sprayer: Offers a super-smooth, almost flawless finish but requires practice and skill.
Application Best Practices
- Thin Coats: Apply multiple thin, even coats, allowing each coat to dry completely before applying the next. This prevents drips, runs, and that dreaded “orange peel” texture.
- Quality Tools: Invest in high-quality brushes and rollers. They may cost more initially, but they provide a superior finish and prevent issues like streaks and shed bristles.
Why This Step is Important: Proper application techniques ensure a smooth, even finish and prevent common painting problems.
Sealing the Deal: Protection and Longevity
For projects requiring extra protection, such as outdoor furniture or high-traffic surfaces, apply a sealant. Polyurethane is a popular choice for furniture, providing a durable, hard finish. For exterior projects, a clear sealant offers additional protection against moisture and UV rays.
Troubleshooting: Resolving Common Issues
Even with meticulous preparation, issues can arise. Here’s how to tackle them:
Bubbling
- Cause: Trapped air or moisture beneath the paint.
- Solution: Lightly sand the affected area and repaint, ensuring the surface is clean and dry.
Peeling
- Cause: Poor surface preparation or incompatible paint layers.
- Solution: Sand down to the bare wood, re-prime, and repaint with compatible products.
Uneven Coverage
- Cause: Inadequate sanding or priming, or uneven paint application.
- Solution: Sand the surface smooth, apply an additional coat of primer if needed, and repaint with thinner, more even coats.
FAQ
- Can I paint plywood directly? It’s not recommended. Priming is essential for proper adhesion and a smooth finish.
- What kind of paint should I use on plywood? It depends on the project location (interior/exterior) and its purpose. See the “Choosing the Right Paint” section for specific recommendations.
- How do I prepare plywood for painting? Refer to the “Preparing your Plywood” section for detailed instructions on filling, sanding, and cleaning.
Alternatives to Painting
While painting is a popular choice, other finishing options exist:
- Staining: Enhances the natural wood grain while providing protection.
- Sealing: Protects the wood without adding color.
- Laminating: Creates a durable, easy-to-clean surface.
The best choice depends on your project’s purpose and desired aesthetic. By following this comprehensive guide, you can confidently tackle your plywood painting projects and achieve beautiful, long-lasting results.
- Dora the Explorer Wipe-Off Fun: Safe & Mess-Free Activities for Little Explorers - April 18, 2025
- Does Lemongrass Repel Mosquitoes? Fact vs. Fiction + How to Use It - April 18, 2025
- Do Woodchucks Climb Trees?Fact vs. Fiction - April 18, 2025


