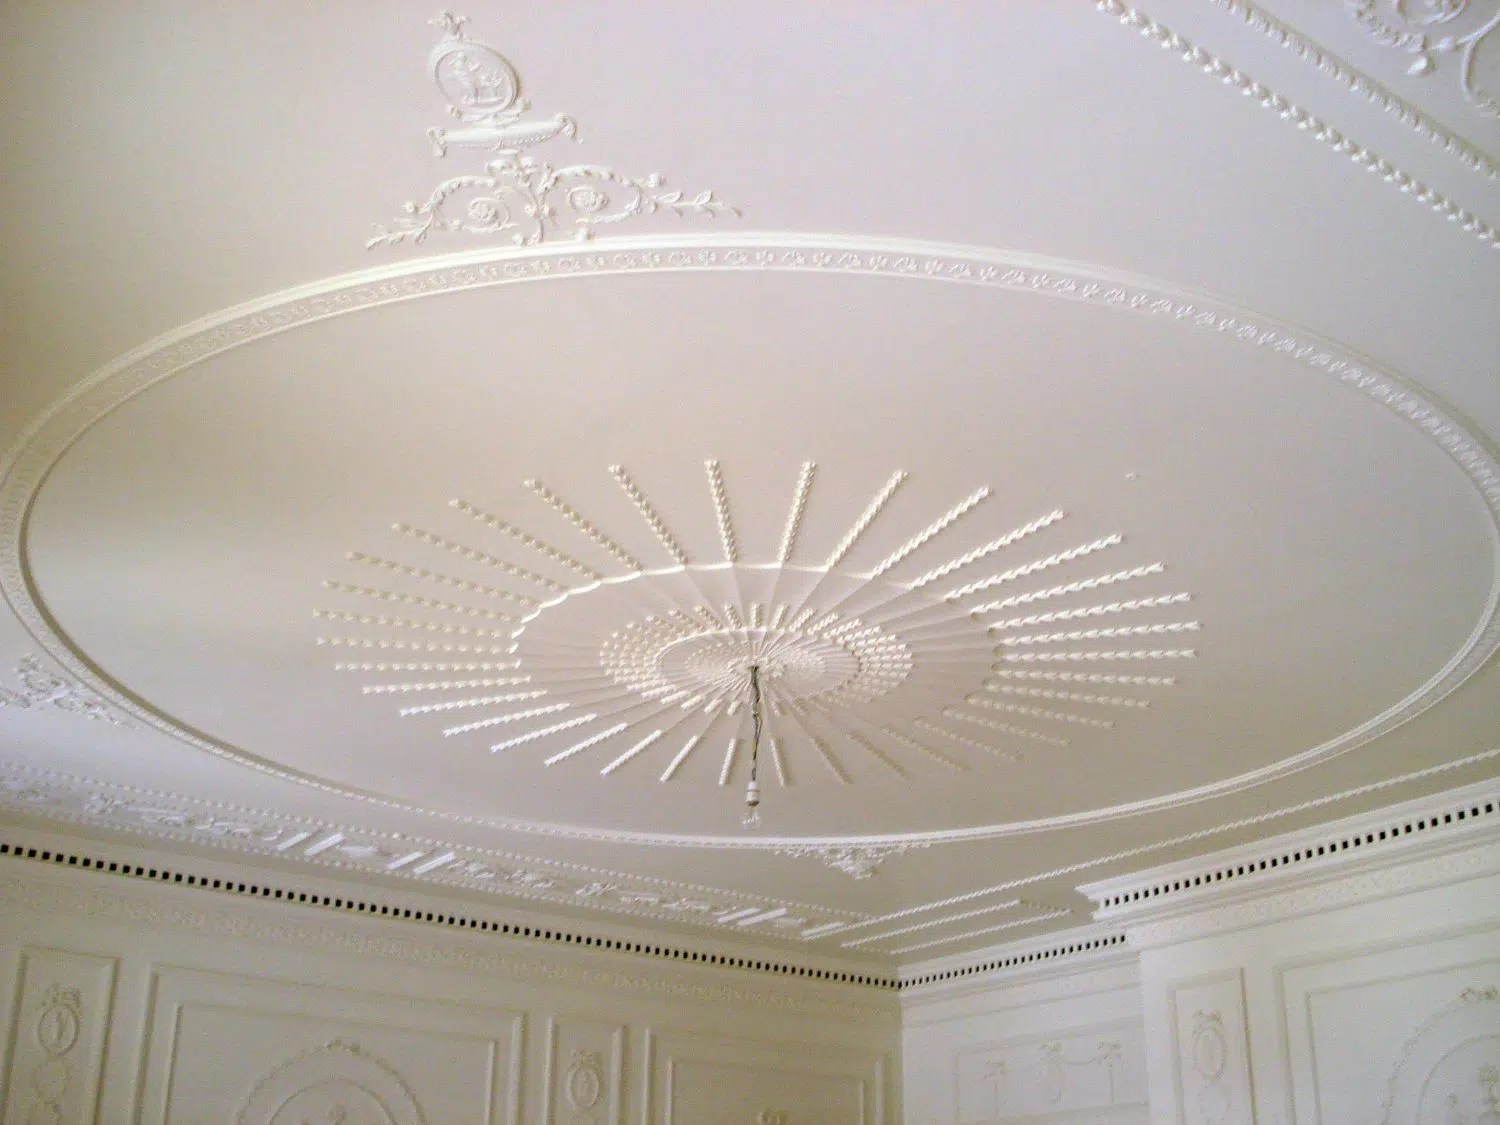
Plaster ceilings evoke a timeless elegance, adding architectural character and depth to any room. But maintaining their beauty requires understanding their unique properties and care. This comprehensive guide covers everything from installing a new plaster ceiling to repairing existing damage, offering insights for both DIY enthusiasts and those considering professional help. Learn how to identify different plaster types, understand the pros and cons, and tackle projects with confidence. Transform your living space with the captivating beauty of plaster wall texture.
Installing a Plaster Ceiling: A Step-by-Step Guide
Installing a plaster ceiling is a demanding but rewarding project. While best suited for experienced DIYers, this guide provides the knowledge you need to achieve professional-looking results.
1. Preparing the Surface
Like any successful project, preparation is key. Begin by thoroughly cleaning the ceiling, removing any loose debris, old paint, or wallpaper. For new installations over lath, ensure the lath is securely fastened. If installing over drywall, use a plaster bonding agent. Priming may be necessary depending on the surface. Finally, protect surrounding areas with drop cloths – plaster dust travels!
2. Mixing the Plaster
The right consistency is crucial. Too thick, and it’s difficult to spread; too thin, and it won’t hold its shape. Follow the manufacturer’s instructions precisely. Use a drill and paddle mixer for a smooth, lump-free blend, aiming for a yogurt-like consistency. Some experts suggest letting the mix rest briefly after mixing for optimal hydration. Ongoing research explores the best mixing techniques for different plaster types, so staying updated is beneficial.
3. Applying the Plaster
Using a hawk and trowel, apply a thin “skim coat” first. Work in manageable sections, starting in a corner and feathering the edges. Smooth, controlled strokes are essential. Let the first coat dry slightly – it should be damp but not wet – before applying the second coat. Drying times vary with temperature and humidity. The second coat builds the desired thickness (typically 4-5mm). Once it sets slightly, “trowel up” to create a smooth finish. Experienced plasterers sometimes add a final, water-flicked glaze for exceptional smoothness, but this requires advanced skill.
4. Finishing Touches
After the plaster dries completely, sand imperfections, prime, and paint to match your décor.
Repairing a Plaster Ceiling: A Practical Guide
Repairing plaster differs from drywall repair. It’s more like restoring a work of art.
1. Assessing the Damage
Identify the type of damage – hairline cracks, small chips, or larger holes. This determines your approach. Small repairs might only need patching compound, while larger areas require proper plaster.
2. Gathering Supplies
Assemble your “ingredients”: plaster, joint compound (for minor fixes), mixing buckets, hawk, trowel, water sprayer, drop cloths, safety goggles, dust mask, and gloves. For larger holes, you’ll also need drywall tape and a utility knife.
3. Preparing the Area
Protect the room from plaster dust! Remove loose plaster and debris from the damaged area. For larger holes, add backing material (like drywall) for support.
4. Applying the Patch
Mix the plaster to the correct consistency. For small cracks, a putty knife may suffice. For larger repairs, use a hawk and trowel, applying thin coats and letting each dry before the next. Sand, prime, and paint after drying. For a flawless finish, consider a skim coat over the entire ceiling.
The Allure of Plaster Ceilings: Pros, Cons, and Modern Alternatives
Plaster ceilings offer unique benefits, but they’re not without drawbacks.
Pros and Cons of Plaster Ceilings
| Pros | Cons |
|---|---|
| Classic elegance | Higher initial cost |
| Durability | Time-consuming installation |
| Superior sound insulation | Potential for cracking |
| Excellent fire resistance | Repairs can be complex |
Plaster vs. Drywall: Making an Informed Choice
Drywall, prevalent since the mid-20th century, offers a faster, cheaper alternative. While plaster excels in acoustics and fire resistance, drywall is easier to install and repair. Your choice depends on your budget, aesthetic preferences, and project needs.
Finding a Plastering Professional
For extensive damage or complex projects, hiring a professional is wise. Look for experienced plasterers with positive reviews and ask about their expertise in specific techniques (like veneer plaster or historical restoration). Obtain multiple quotes and discuss project timelines and costs.
Frequently Asked Questions
- How can I tell if my ceiling is plaster or drywall? A knock test can help. Plaster produces a solid thud, while drywall sounds hollow.
- How do I maintain my plaster ceiling? Regular cleaning and addressing minor cracks promptly can prevent larger issues.
- Can I paint a plaster ceiling? Yes, after priming. Use a paint suitable for plaster surfaces.
Conclusion
Plaster ceilings, with their timeless appeal, can enhance any home. Whether you’re installing a new ceiling or repairing existing damage, this guide equips you with the knowledge and confidence to approach your project successfully. Remember, patience and attention to detail are crucial for achieving a beautiful, lasting finish.
- Best Color Backsplash For White Cabinets: Ideas Youll Love - November 27, 2025
- White On White Backsplash: A Timeless Kitchen Design Choice - November 26, 2025
- Tile Backsplash With White Cabinets: A Kitchen Design Guide - November 25, 2025


