Want to transform your dull walls into captivating focal points? Adding texture is the key! This comprehensive guide covers everything you need to know about DIY plaster wall textures, from the subtle orange peel to the dramatic skip trowel. Whether you’re a seasoned DIYer or just starting, we’ll break down the techniques and provide inspiration to bring your wall texture vision to life. Transform your home with the timeless elegance of a plaster ceiling.
Mastering Plaster Textures
Embarking on Your Texturing Journey
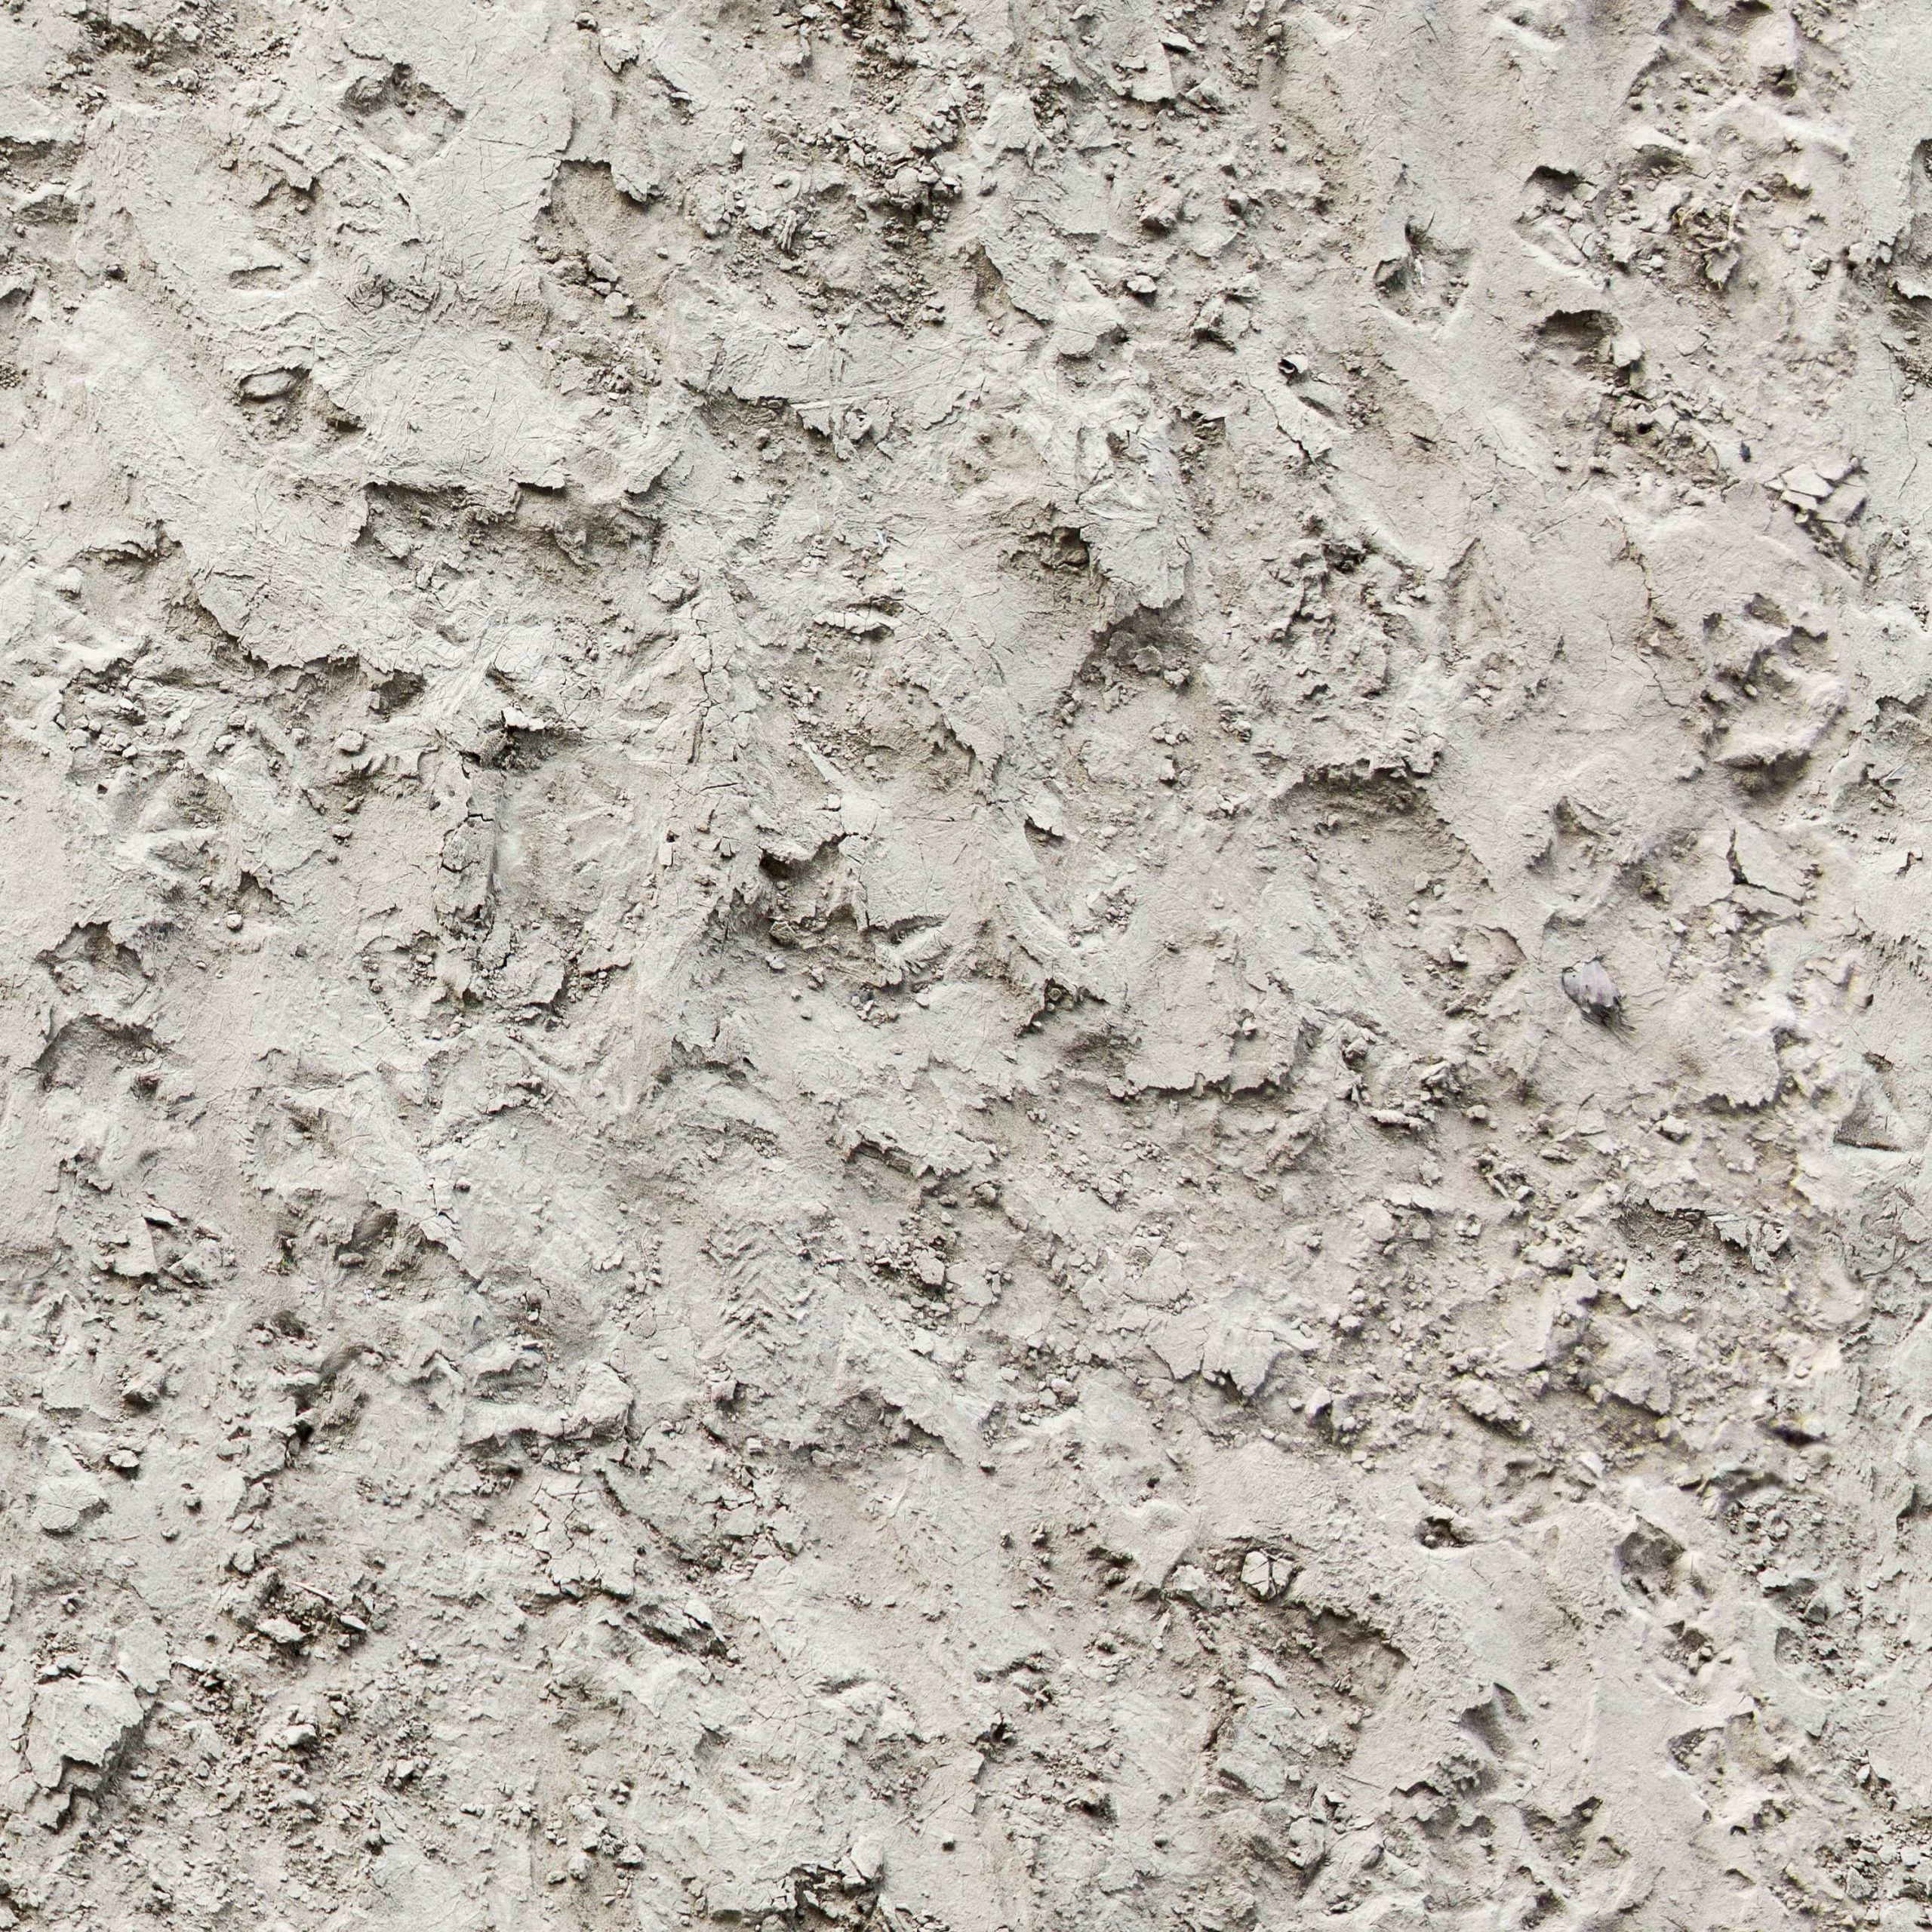
Plaster wall texture has the power to transform a room, adding depth, character, and visual intrigue. The way light dances across textured surfaces, creating subtle shadows and highlights, can completely change the atmosphere of a space. This guide explores a range of plaster wall textures, from the sleek sophistication of Venetian plaster to the rustic charm of a skip-trowel finish. Ready to elevate your walls from ordinary to extraordinary?
Polished Plaster: Achieving a Smooth, Luxurious Finish
Polished plaster, like Venetian plaster, offers a smooth, glass-like surface that exudes elegance and sophistication. This luxurious finish is achieved by applying multiple thin layers of plaster, meticulously smoothing each one until a seamless, high-gloss surface emerges. While Venetian plaster can be remarkably durable and moisture-resistant, achieving this flawless look requires patience, precision, and practice.
- Pros: Elegant, durable, moisture-resistant
- Cons: Requires skill, time-consuming, expensive
Textured Plaster: Exploring Depth and Dimension
If a more dynamic surface appeals to you, textured plaster offers a world of possibilities. From delicate stippling to bold swirls, these techniques use tools like trowels, sponges, and combs to create unique patterns. Whether you’re mimicking the ripples of sand or creating a custom design, textured plaster adds captivating visual interest and cleverly conceals imperfections.
- Pros: Hides imperfections, visually appealing, customizable
- Cons: Can be challenging for beginners, may collect dust
Rough Plaster: Embracing Rustic Simplicity
Rough plaster textures, such as skip trowel, offer a rustic, handcrafted aesthetic. This technique involves applying plaster unevenly, leaving visible trowel marks for a layered, textured effect. It’s a surprisingly simple method that embraces imperfections, adding a touch of history and warmth to any space.
- Pros: Easy to apply, forgiving of mistakes, unique character
- Cons: May not suit all styles, can be harder to clean
Essential Tools and Materials: Equipping Yourself for Success
Before diving in, gather your essential tools and materials. This includes various trowels, buckets, mixing tools, safety gear (gloves and eye protection), and of course, the plaster itself. Investing in quality tools will ensure a smoother process and a more professional finish. Choosing the right plaster is crucial, with base coat plaster often followed by a finishing plaster for the texturing process.
Preparing for Perfection: The Plastering Process
Proper surface preparation is crucial. Start by thoroughly cleaning your walls, patching any holes or cracks with a patching compound, and sanding smooth. Once dry, apply a suitable primer to create a smooth, uniform base for the plaster. Mixing the plaster to the right consistency is key – too thick and it’s difficult to spread, too thin and it won’t hold its shape. Testing on a small area is always recommended.
Troubleshooting: Overcoming Common Challenges
Challenges may arise, such as cracks, uneven textures, or peeling. Cracks often suggest the plaster was too thin or improperly mixed. Uneven texture can often be remedied with light sanding. Peeling might indicate poor surface preparation or incompatible materials. Don’t be discouraged! With a little troubleshooting, these issues can be resolved.
DIY or Delegate: Assessing Your Skill Level
While many plastering techniques are DIY-friendly, more complex finishes, particularly Venetian plaster, often require professional expertise. If you’re unsure or tackling a large or intricate project, consider consulting a professional plasterer. Their experience can ensure a flawless result and save you time and potential frustration.
Maintaining Your Masterpiece: Preserving the Beauty of Plaster
Once your plaster wall texture is complete, regular dusting and gentle cleaning with a damp cloth will maintain its beauty. Avoid harsh chemicals and abrasive cleaners, as they can damage the finish. With proper care, your textured walls will remain a stunning focal point for years to come.
How To Texture Plaster Walls: A Step-by-Step Guide
Adding texture to your plaster walls dramatically enhances a room’s atmosphere. From subtle to bold, various techniques can transform plain surfaces into captivating design elements. Let’s explore the world of plaster wall texturing.
Preparing Your Walls: The Foundation for Texturing Success
Preparation is paramount. Clean the wall thoroughly, removing dust, debris, and loose paint. Repair imperfections with patching compound, allowing it to dry completely before sanding smooth. Priming with an oil-based or plaster primer ensures proper adhesion of the texturing material.
Texturing Methods: A World of Creative Possibilities
1. Trowel Techniques: A trowel allows for artistic expression, creating custom textures.
-
Skip Trowel: Holding the trowel at an angle and skimming it across the wet plaster creates a raised, uneven texture. Experimenting with pressure and angle variations produces diverse effects.
-
Lace: A delicate lace-like pattern emerges by pressing a wire brush into wet plaster and removing it after drying. This method requires patience and a steady hand.
-
Swirl: Create a dynamic, swirling pattern by applying plaster in overlapping circular motions. Varying swirl size and direction adds visual interest.
-
Comb: Use a notched trowel to create lines or patterns, ranging from simple geometric designs to more complex, linear textures.
2. Roller Techniques: Textured paint rollers offer a quick and easy method. These rollers, available in various patterns, create textures like knockdown, orange peel, and skip-trowel by simply rolling them over the wet plaster.
3. Sprayer (Hopper Gun) Techniques: Best suited for large areas and specific textures like popcorn ceilings, sprayers require specialized equipment and practice. Proper setup and adjustment are crucial for even application and avoiding overspray.
4. Sponge Techniques: A simple yet effective method involves dabbing a damp sponge onto a wall coated with joint compound, creating a stippled or textured effect.
Essential Supplies: Equipping Your Texturing Toolkit
| Tool/Material | Description |
|---|---|
| Plaster patching compound | Fills imperfections |
| Putty knife | Applies and smooths patching compound |
| Sandpaper | Smooths dried patching compound |
| Primer | Seals the wall and ensures texture adhesion |
| Texturing compound | Creates the texture |
| Trowel | Creates various hand-applied textures |
| Textured paint roller | Creates textures like knockdown, orange peel, etc. |
| Roller tray & liner | Holds the texturing compound for roller application |
| Texture sprayer | Applies texture to large areas (optional) |
| Sponge | Creates stippled/textured effects (optional) |
| Drop cloths | Protects floors and furniture |
| Painter’s tape | Masks off areas |
| Mixing container | For mixing powdered compound (if applicable) |
| Water | For mixing and cleaning |
Cleanup and Maintenance: Preserving Your Tools and Your Finish
Clean your tools promptly with warm water and soap to prevent the compound from hardening. Regular dusting and gentle cleaning with a damp cloth will maintain the beauty of your textured walls.
Troubleshooting: Addressing Common Issues
- Uneven Texture: Light sanding can often smooth out uneven areas.
- Cracking: Cracks might indicate the compound was too thin or improperly mixed. Apply another thin layer to resolve this.
- Pattern Difficulties: Practice on a less visible area before tackling the main wall.
Plaster vs. Drywall: A Visual Comparison
The question of whether plaster or drywall looks “better” is subjective, depending on personal preference and the overall design style. Let’s explore the aesthetic differences between these two wall finishes.
Plaster adds depth, character, and unique variations to walls. Its textured nature, whether smooth and polished like Venetian plaster or rough and rustic like skip trowel, creates a sensory experience. Drywall, conversely, offers a smooth, uniform, and clean-lined surface. Its versatility makes it a blank canvas for paint, wallpaper, or minimalist aesthetics.
Here’s a table summarizing the key differences:
| Feature | Plaster | Drywall |
|---|---|---|
| Look and Feel | Textured, adds depth and character, unique variations | Smooth, uniform, clean lines |
| Cost | Typically more expensive | Generally less expensive |
| Upkeep | Durable, specialized repairs | Easier patching, prone to dents |
| DIY | Can be challenging | Relatively easier |
| Style | Versatile, traditional to contemporary | Often preferred in modern designs |
Ultimately, the choice between plaster and drywall comes down to your vision, budget, and the overall style of your home.
Achieving Textured Plaster Walls: A DIY Guide
This guide provides a practical, step-by-step approach to achieving stunning textured finishes on plaster walls. From subtle rustic charm to bold statements, we’ll cover various techniques and essential tips.
Preparation is Key: Setting the Stage for Success
-
Cleaning: Thoroughly clean the wall to remove dust, debris, and loose paint.
-
Patching: Fill imperfections with patching compound, letting it dry completely and sanding smooth.
-
Priming: Apply an oil-based or plaster primer to ensure proper texture adhesion.
Trowel Techniques: Exploring Creative Textures
-
Skip Trowel: Skim a trowel at an angle across wet plaster, creating a raised, uneven texture.
-
Lace: Press a wire brush into wet plaster and remove it after drying for a delicate lace pattern.
-
Swirl: Apply plaster in overlapping circular motions for a dynamic look.
-
Comb: Use a notched trowel to create lines or patterns.
Roller and Sprayer Techniques: Streamlined Texturing
-
Textured Rollers: Roll a patterned roller over wet plaster for a quick and consistent texture.
-
Sprayers: Use a hopper gun for large areas and specialized textures, but practice is recommended.
Choosing Your Materials and Tools: Equipping for Success
| Technique | Difficulty | Description | Tools |
|---|---|---|---|
| Skip Trowel | Easy | Creates a raised, uneven texture. | Trowel |
| Lace | Medium | Forms a lace-like pattern. | Trowel, wire brush |
| Swirl | Medium | Achieves a swirling pattern. | Trowel |
| Comb | Easy | Produces lines or patterns. | Notched trowel |
| Textured Roller | Easy | Imprints a pattern. | Textured roller, roller handle/frame |
| Sprayer | Advanced | Applies textured plaster mix, ideal for larger projects. | Hopper gun, compressor, safety gear |
Test your chosen technique on a small, inconspicuous area before tackling the entire wall. Experiment, have fun, and let your creativity shine!
- Memorial Stones for Gardens: A Guide to Creating a Lasting Tribute - April 29, 2025
- Melon Cut Diamonds: A Comprehensive Guide - April 29, 2025
- MarketStreet Lynnfield Stores: A Complete Directory & Shopping Guide - April 29, 2025


