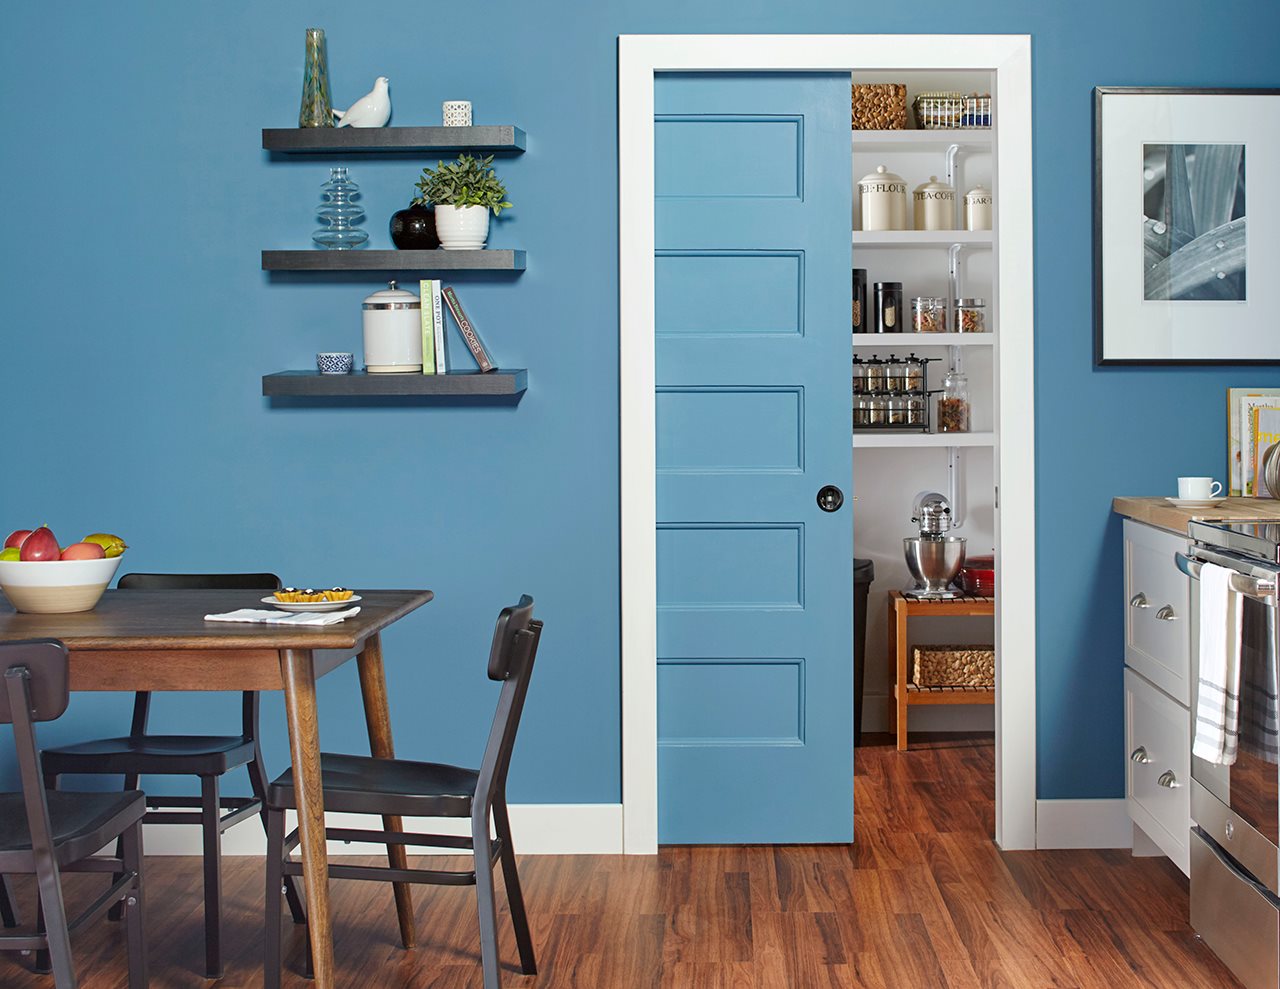
Want to maximize space and add a touch of modern elegance to your home? Pocket doors are the answer! This comprehensive guide covers everything from choosing the right kit to troubleshooting common issues, empowering you to install a pocket door like a pro.
Understanding Pocket Door Kits
Pocket doors offer a sleek, space-saving alternative to traditional swing doors, disappearing seamlessly into the wall. They’re ideal for small spaces like bathrooms, closets, or hallways, but can elevate any room with their modern aesthetic. A pocket door kit contains all the necessary hardware, making installation a manageable DIY project.
Why Choose a Pocket Door?
Pocket doors offer several key advantages:
- Space Saving: Eliminate the swing arc of traditional doors, freeing up valuable floor space.
- Modern Aesthetics: Add a touch of contemporary elegance to any room.
- Accessibility: Ideal for creating barrier-free spaces for people with mobility limitations.
- Soundproofing Potential: When combined with sound-dampening materials within the wall cavity, pocket doors can create quieter, more private spaces.
Choosing the Right Pocket Door Kit
Selecting the right kit is crucial for a successful installation. Consider these factors:
Kit Types
- Standard Kits: The workhorse option, offering reliable functionality at an affordable price. Perfect for basic installations and DIY beginners.
- Soft-Close Kits: Provide a gentle, controlled closing action, preventing slamming and potential damage. Ideal for high-traffic areas or homes with children. May be slightly more complex to install than standard kits, but the added convenience is often worth it.
- Bypass Kits: Designed for wider openings or double doors that slide past each other. While offering a sophisticated look, bypass installations can be more intricate, potentially requiring additional expertise.
Sizing and Measurement
Precise measurements are paramount to avoid costly mistakes. Follow these steps:
- Door Opening Width: Measure the exact width of the opening.
- Door Opening Height: Measure the exact height of the opening.
- Wall Thickness: Determine if your wall uses 2×4 or 2×6 studs. The kit must match the wall thickness.
- Manufacturer’s Guidelines: Consult the specific instructions for your chosen kit. Each manufacturer probably has slightly different sizing requirements.
Materials and Quality
The kit’s materials impact durability, performance, and cost.
- Steel: Strong, durable, and often the most budget-friendly option. Steel is a good all-around choice for most applications.
- Aluminum: Lightweight and rust-resistant, making installation easier. However, aluminum can sometimes be more expensive than steel.
- Wood: Offers a classic aesthetic but requires more maintenance and is susceptible to warping in humid environments. If choosing wood, ensure it’s properly treated and sealed.
Installation: A Step-by-Step Guide
While specific instructions vary by kit, here’s a general overview:
- Prep the Opening: Remove the existing door and frame, ensuring the rough opening is the correct size and framed properly according to the kit manufacturer’s instructions.
- Install the Frame: Carefully position and secure the frame within the rough opening, ensuring it’s perfectly level and plumb.
- Mount the Track: Securely install the track inside the frame, following the manufacturer’s guidelines. The track is crucial for smooth door operation.
- Hang the Door: Attach the rollers/hangers to the door and carefully mount it onto the track. Test the movement to ensure smooth gliding.
- Install Hardware: Attach handles, pulls, locks, and any other included hardware.
- Finish the Wall: Install drywall over the frame, concealing the kit within the wall.
Brand and Product Reviews
Researching different brands helps you find the best fit for your project.
| Brand | Features | Price Range | Potential Pros | Potential Cons |
|---|---|---|---|---|
| Johnson | Wide selection, reliable | Mid-range | Durable hardware, smooth operation | May lack some advanced features |
| Eclisse | High-end, innovative features | Premium | Sleek design, excellent performance | Higher price point |
| JUBEST | Budget-friendly | Value | Affordable, suitable for basic applications | Durability may vary, fewer features |
| EaseLife | Easy installation | Mid-range | Pre-assembled components, beginner-friendly | Limited customization options, durability varies |
User experiences can vary, so always read reviews before making a purchase. Ongoing research and development may lead to new and improved options.
Troubleshooting and Common Problems
- Sticking Door: Check for obstructions in the track or misaligned rollers. Lubricating the track and rollers can often resolve the issue. For specific guidance on addressing sticking issues, our pocket door latch guide offers practical solutions.
- Noisy Rollers: Lubricate the rollers with WD-40 or a specialized lubricant. If the noise persists, the rollers may need replacing.
Tips and Tricks
- Pre-assemble: Assemble as much of the kit as possible before starting the installation.
- Double-Check Measurements: Avoid costly mistakes by verifying all measurements.
- Invest in Quality: Higher-quality hardware typically ensures smoother operation and greater longevity.
- Consult a Professional: Don’t hesitate to seek expert help if needed.
Related Products and Accessories
Enhance your pocket door with these additions:
- Door Handles and Pulls: Choose styles that complement your home’s décor.
- Locks: Consider privacy locks for bathrooms or bedrooms.
- Trim Kits: Create a finished look around the door opening.
Conclusion
Pocket doors offer a stylish and practical solution for maximizing space. By following this guide, you can confidently choose and install the perfect pocket door kit for your project, transforming your home with a touch of modern elegance.
- Does Ammonia Kill Mold? The Truth About Using It for Removal - April 15, 2025
- Does Bleach Kill Spiders? Effectiveness, Safety, and Better Alternatives - April 15, 2025
- Does Soap Expire? How to Tell if Your Soap Has Gone Bad - April 15, 2025


