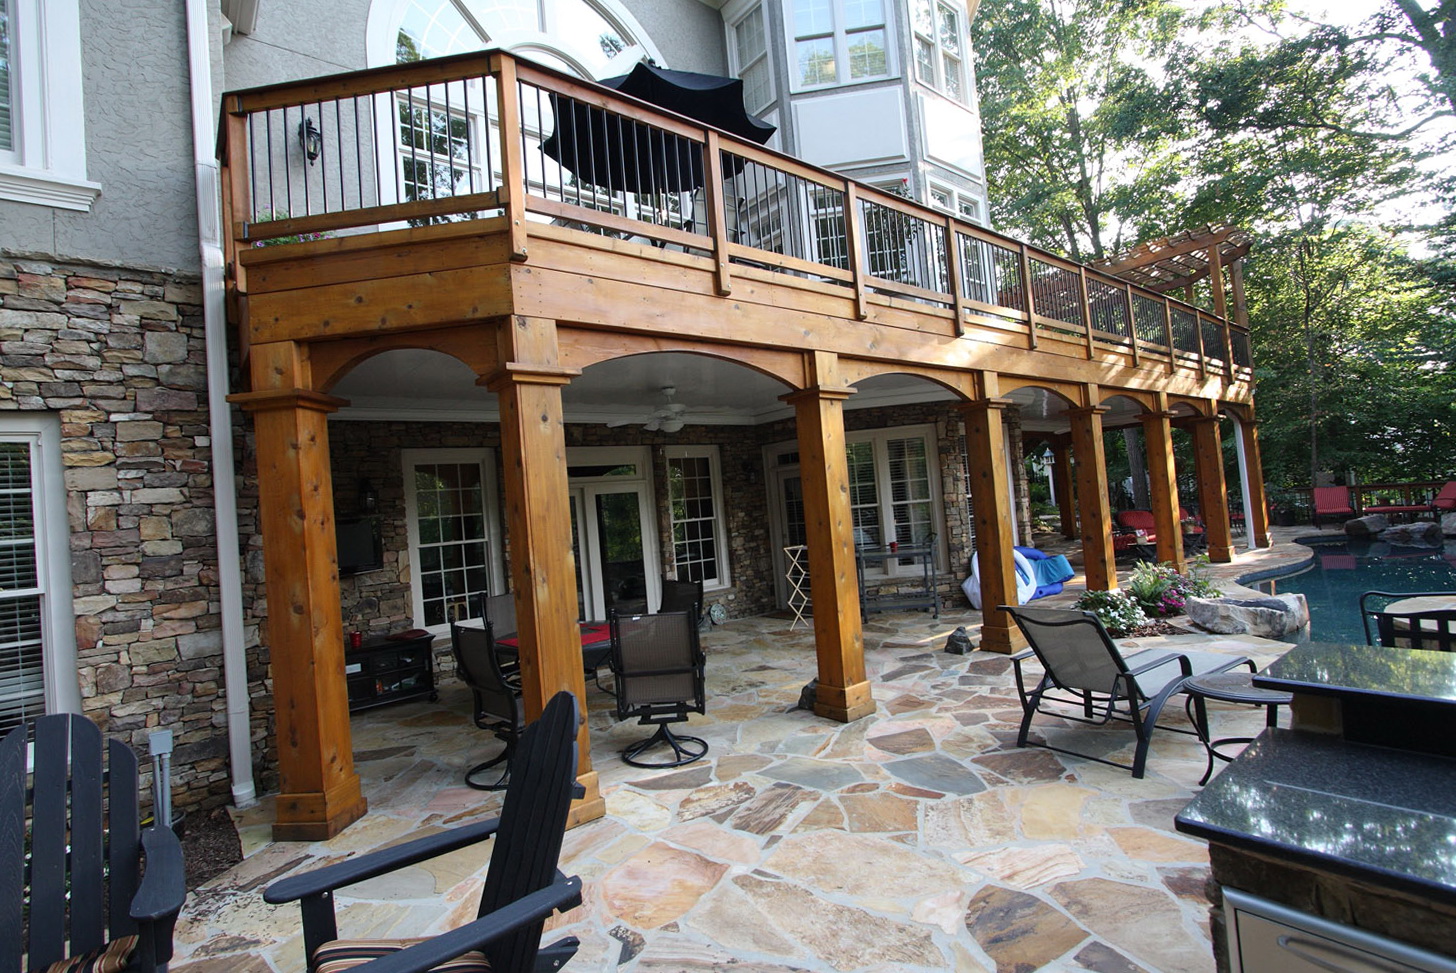
Your porch posts: they’re the unsung heroes holding up your porch roof, and they play a significant role in your home’s curb appeal. Unfortunately, they also bear the brunt of weather, pests, and general wear and tear. Porch post wraps offer a stylish and protective solution, revitalizing your porch’s appearance while shielding these vital supports. This comprehensive guide provides a step-by-step approach to measuring, selecting, and installing porch post wraps, along with expert tips for troubleshooting and maintenance. Ready to give your porch a facelift? Let’s dive in.
Choosing the Right Wrap Material
Selecting the ideal material for your porch post wraps depends on several factors, including your budget, desired aesthetic, and maintenance preferences. Each material offers a unique blend of advantages and disadvantages.
Exploring Material Options
-
Wood: A classic choice that provides a natural, warm look. Wood is generally affordable and customizable but requires regular maintenance like painting or staining to prevent rot and weather damage. Some wood types, like cedar and redwood, offer better natural resistance to decay and insects. For more information on selecting the right wood, see our guide on the best wood to wrap a porch post.
-
Vinyl: A low-maintenance option available in a wide array of colors and styles, often mimicking the look of wood. While generally weather-resistant, vinyl may fade or crack over time, especially with prolonged sun exposure. Ongoing research suggests that newer vinyl formulations offer improved durability.
-
PVC: A step up from vinyl in durability, PVC offers similar low-maintenance benefits with greater resistance to moisture, insects, and impacts. It’s a suitable choice for high-traffic areas, but may be more expensive than vinyl.
-
Aluminum: A sleek, modern option known for exceptional durability and minimal maintenance. Aluminum is a long-term investment, but typically comes with a higher price tag.
-
Composite: Combining the aesthetics of wood with the low-maintenance benefits of synthetic materials, composite wraps are a premium option designed for durability and weather resistance. Like aluminum, they tend to be more expensive.
-
Fiberglass: Highly versatile and able to mimic various materials like stone. Fiberglass is durable and weather-resistant but often requires professional installation. For more details on different materials, including fiberglass, check out our guide on what material is used to wrap porch posts.
To compare materials at a glance, see the table below:
| Material | Pros | Cons | Cost | Maintenance |
|---|---|---|---|---|
| Wood | Natural beauty, affordable, customizable | Requires regular maintenance | Low to Medium | High |
| Vinyl | Low-maintenance, variety of styles | Can fade or crack over time | Low | Low |
| PVC | Durable, weather-resistant, low-maintenance | Can be more expensive than vinyl | Moderate | Low |
| Aluminum | Extremely durable, maintenance-free | Higher cost | High | Low |
| Composite | Durable, weather-resistant, natural look | Most expensive option | High | Low |
| Fiberglass | Durable, versatile, weather-resistant | Expensive, professional installation often needed | Very High | Low |
Precise Measuring for a Perfect Fit
Accurate measurements are crucial for a seamless installation. Too little material will leave gaps, while too much can create wrinkles and difficulties.
- Gather Your Tools: Tape measure, pencil, notepad.
- Measure Circumference: Wrap the tape measure around the post at its widest point.
- Measure Height: Measure from base to desired wrap end point. Add a few inches for overlap, especially if posts aren’t perfectly straight.
- Record and Label: Clearly label measurements for each post and consider taking photos, especially of unique features.
Installing Your Porch Post Wraps
Installation varies depending on the wrap material. Always consult the manufacturer’s instructions.
Installation Methods
- Pre-fabricated Wraps: Typically attach with adhesive or screws. Scoring the inside edges may be necessary.
- DIY Wood Wraps: Requires basic carpentry skills. Cut wood to size, use construction adhesive and finishing nails, sand rough edges, and apply paint or stain.
For a detailed guide on wrapping existing columns, including step-by-step instructions, explore our article on how to wrap existing porch columns.
Troubleshooting and Maintenance
Addressing Common Issues
- Gaps: Seal with caulk or wood filler.
- Loose Fit: Trim the wrap or use shims.
- Attachment Difficulties: Pre-drill pilot holes.
Caring for Your Wraps
- General Cleaning: Regularly clean with soap and water.
- Wood Wraps: Require regular painting or staining.
- Other Materials: Periodic cleaning is usually sufficient. Inspect regularly for damage.
By following these guidelines, you can enhance and protect your porch columns with stylish and durable wraps, adding value and curb appeal to your home. For inspiration on completing your porch renovation, explore our porch ceiling ideas.
- Dora the Explorer Wipe-Off Fun: Safe & Mess-Free Activities for Little Explorers - April 18, 2025
- Does Lemongrass Repel Mosquitoes? Fact vs. Fiction + How to Use It - April 18, 2025
- Do Woodchucks Climb Trees?Fact vs. Fiction - April 18, 2025


