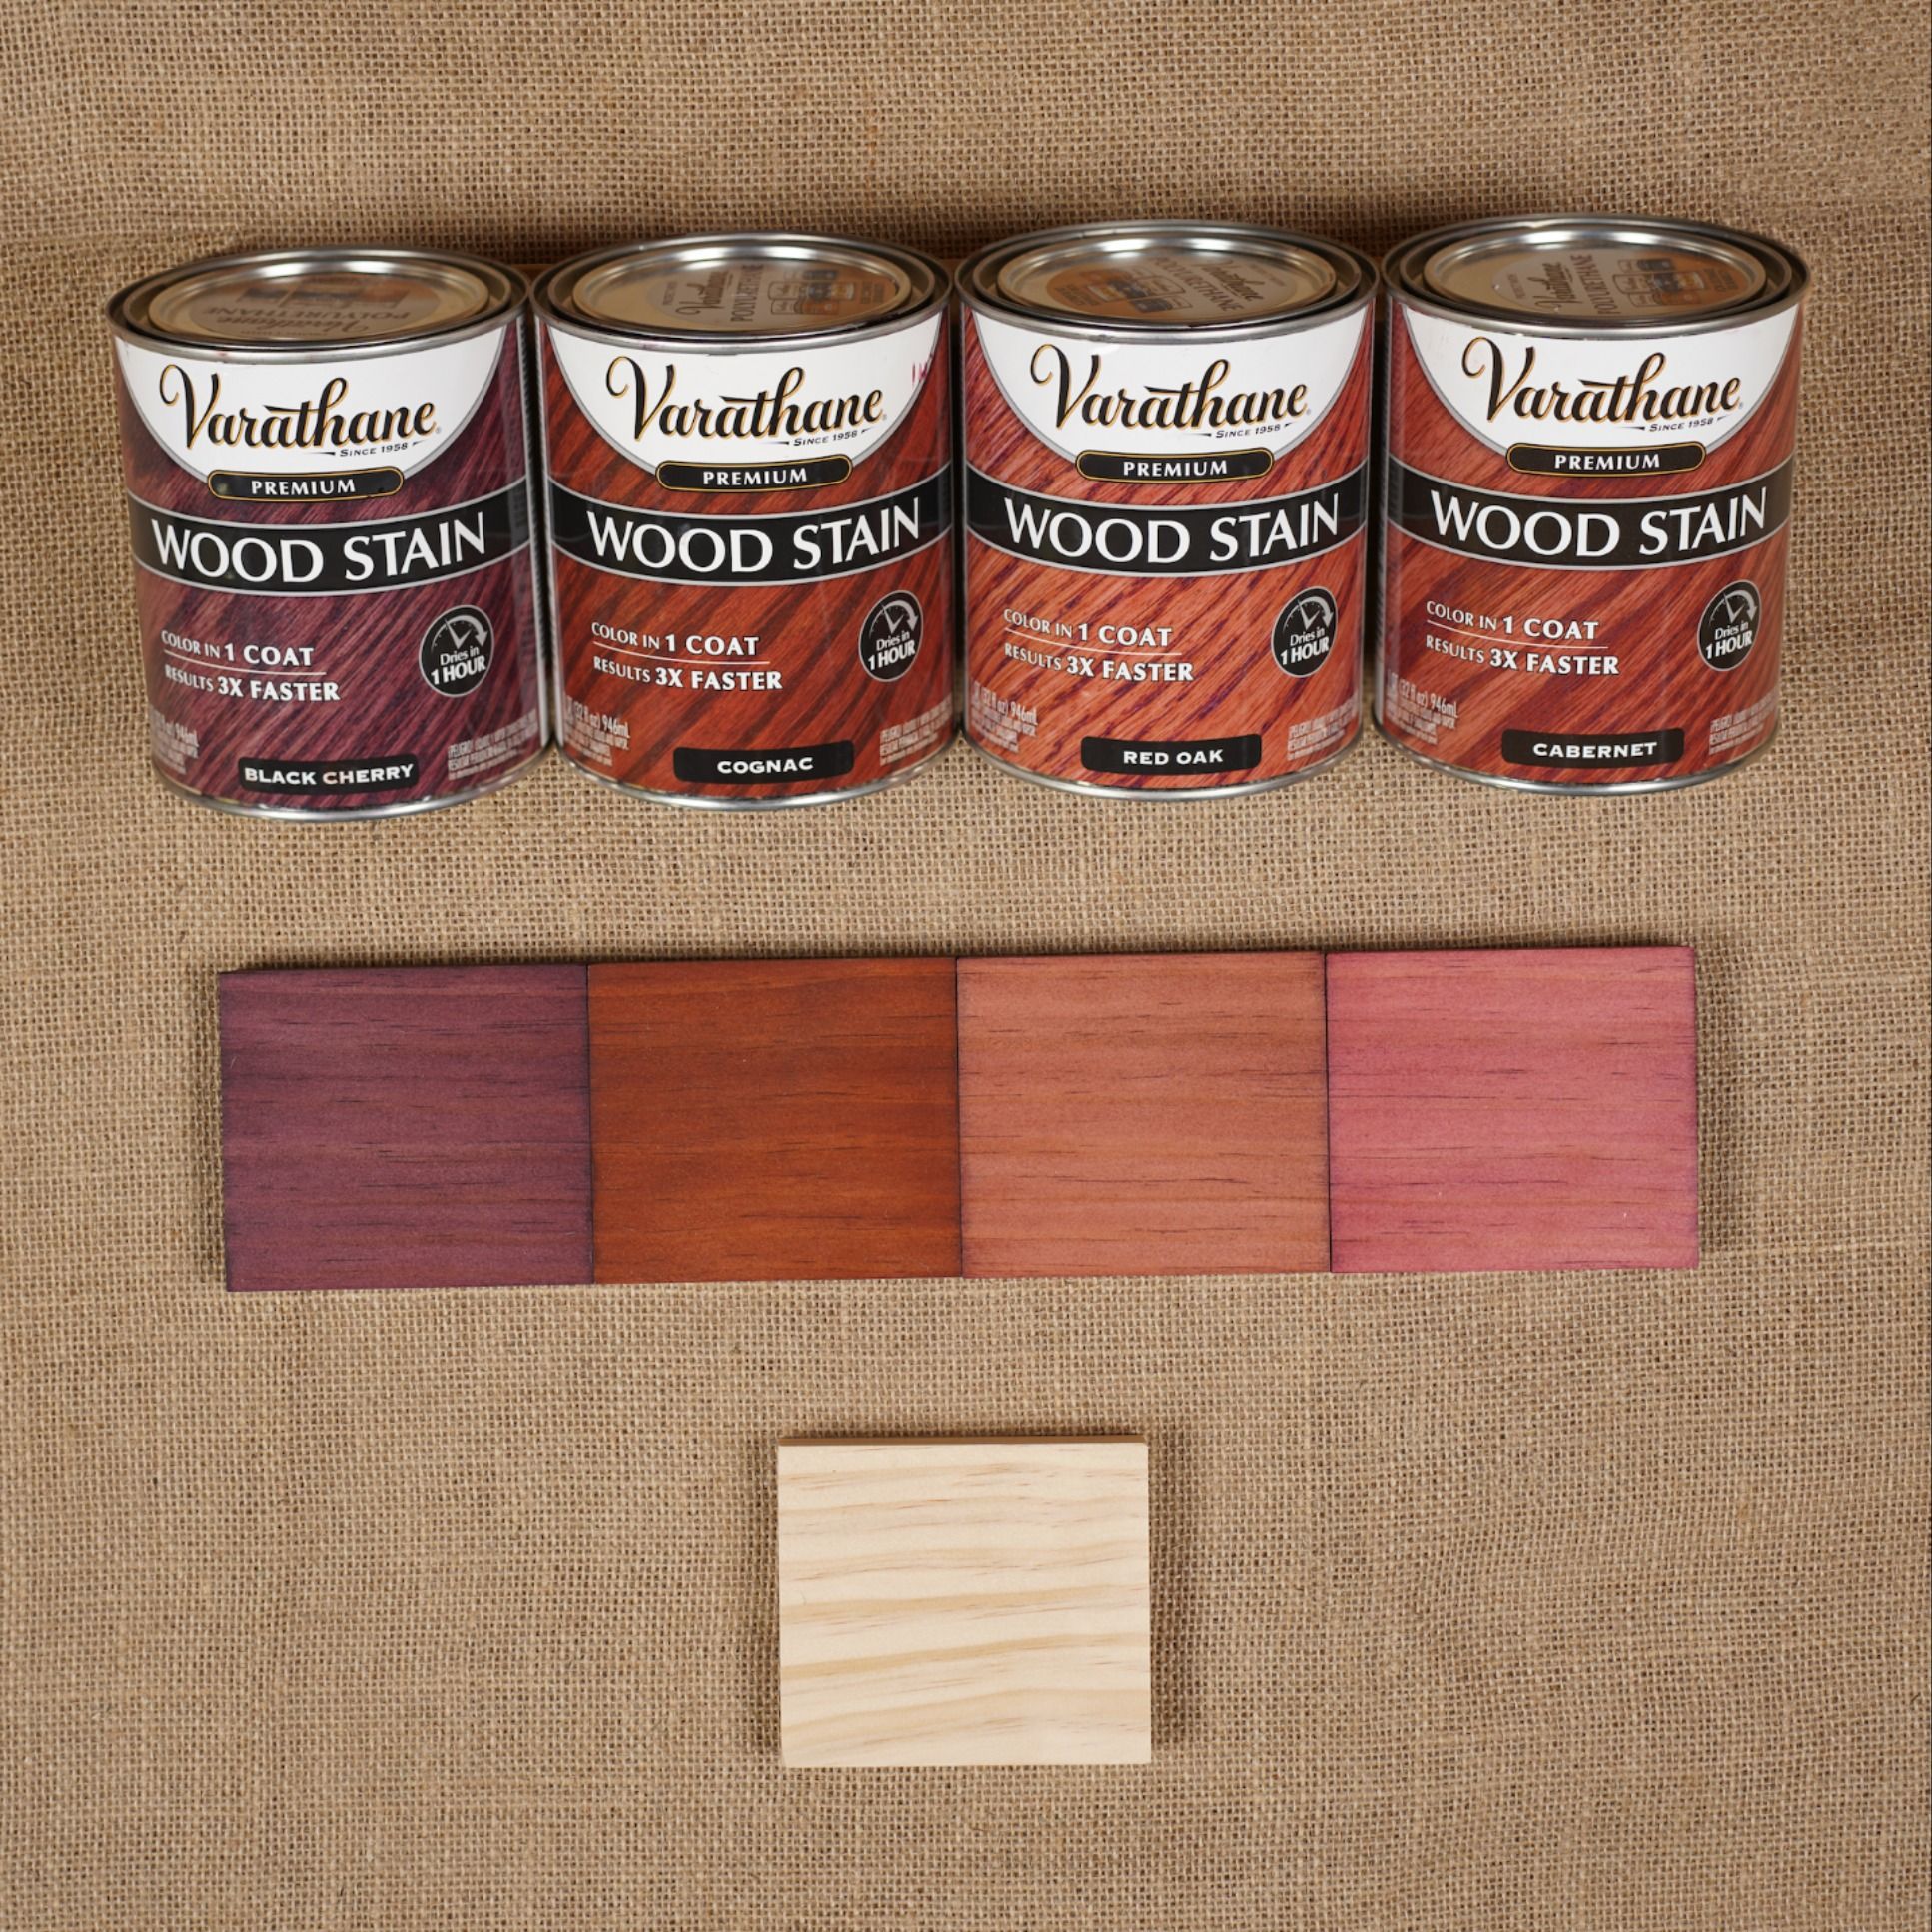
Want to give your wood projects a vibrant, eye-catching makeover? Red wood stain offers a spectrum of rich hues, from the rustic charm of barn red to the fiery intensity of crimson. This comprehensive guide covers everything you need to know, from selecting the perfect shade and stain type to achieving a flawless, long-lasting finish. So, grab your brushes and get ready to transform your woodwork!
Choosing Your Ideal Red
Navigating the Spectrum of Reds
The beauty of red wood stain lies in its remarkable versatility. Imagine the classic image of a weathered barn door, bathed in the deep, earthy tones of barn red. Now picture a sleek, modern dining table, its mahogany finish adding a touch of warmth to the room. From the bold statement of scarlet to the subtle blush of rose, the possibilities are endless.
Before you begin, visualize your finished project. What mood are you trying to create? Browsing online image galleries can spark inspiration. Even better, test small samples of different stain colors on scrap pieces of the same wood you’ll be using. This gives you the truest representation of the final color, as various wood types absorb stain differently. Pine, for example, will probably yield a lighter result than oak, even with the same stain.
Understanding Stain Types: Oil-Based, Water-Based, and Gel
Choosing the right stain type is crucial. Each has its own strengths and weaknesses, influencing the final look and longevity of your project:
| Stain Type | Pros | Cons |
|---|---|---|
| Oil-Based | Rich, vibrant color; Durable; Deep penetration into the wood | Longer drying time; Requires solvents for cleanup; Strong odor |
| Water-Based | Fast drying; Easy cleanup with soap and water; Low odor | Can raise wood grain; May require multiple coats for deep color |
| Gel | Thick consistency, good for vertical surfaces and hiding imperfections | Can be difficult to apply evenly; May not penetrate as deeply |
Consider your project’s location (indoors or outdoors), the type of wood, and your comfort level with different application methods. For exterior projects needing weather resistance, an oil-based stain is likely the best choice. Indoor projects may benefit from a water-based stain’s quick drying time and easy cleanup. Gel stains are excellent for vertical surfaces or intricate details, minimizing drips.
Preparing the Wood: The Foundation for Success
Proper surface preparation is paramount for a smooth, even finish. Think of it as creating a clean canvas for your red masterpiece:
- Cleaning: Remove dirt, dust, or debris with a damp cloth. If there’s an existing finish, a paint stripper might be needed.
- Sanding: Smooth the surface and open the wood pores for even stain penetration. Progress through increasingly finer grits of sandpaper.
- Conditioning (Optional): For blotch-prone woods like pine or maple, a wood conditioner helps regulate stain absorption and minimize unevenness.
Applying the Stain: A Step-by-Step Guide
Now for the transformative part! Here’s how to apply your chosen red wood stain:
- Stir, Don’t Shake: Gently stir the stain to distribute pigments evenly. Shaking can create bubbles, leading to an uneven finish.
- Apply Liberally: Using a brush, rag, or sprayer, apply a generous coat of stain, working in the direction of the wood grain.
- Remove Excess: After a few minutes (check the manufacturer’s instructions), wipe off excess stain with a clean cloth. This prevents a sticky finish and allows the wood grain to shine through.
- Dry and Repeat: Allow the stain to dry completely. For deeper color, apply additional thin coats, allowing sufficient drying time between each.
Finishing and Protection
Sealing the Deal: Protecting Your Masterpiece
Once the stain is dry, a sealant or topcoat adds a protective layer, shielding your work from moisture, UV damage, and wear:
- Choose Your Sealant: Options include polyurethane, varnish, and lacquer, available in various sheens (matte, satin, gloss). Consider the project’s location and use.
- Apply Thin Coats: Apply the sealant according to the manufacturer’s instructions, typically in thin, even coats, allowing ample drying time between applications.
Troubleshooting and Maintenance
Troubleshooting Common Issues
Even with careful preparation, occasional issues can arise. Here are some common problems and solutions:
- Blotchy Stain: Light sanding and another thin coat often solve the problem. A wood bleach product may be needed for stubborn blotches.
- Uneven Color: Ensure consistent application and drying times. Additional coats might be necessary.
- Streaks: Blend them out with a fresh coat while the previous coat is still slightly wet, or lightly sand and reapply.
Maintaining Your Red-Stained Wood
With proper care, your red-stained wood will last for years:
- Regular Cleaning: Dust with a soft cloth and occasionally wipe with a damp cloth and mild wood cleaner.
- Resealing: Reapply the sealant every few years to refresh the color and maintain protection. The frequency depends on the project’s location and exposure to the elements.
- Minor Repairs: Touch-up pens or a small amount of stain can address minor scratches.
Conclusion
Red wood stain offers a vibrant and versatile way to transform your wood projects. By following this guide and understanding the nuances of choosing, applying, and maintaining your stain, you can achieve professional-looking results. So, embrace the color, unleash your creativity, and enjoy the process of bringing your vision to life! Don’t forget to share your completed projects!
Resources
Is your roof looking a little green? Learn how to remove moss from roof and restore its beauty.
- Dora the Explorer Wipe-Off Fun: Safe & Mess-Free Activities for Little Explorers - April 18, 2025
- Does Lemongrass Repel Mosquitoes? Fact vs. Fiction + How to Use It - April 18, 2025
- Do Woodchucks Climb Trees?Fact vs. Fiction - April 18, 2025


