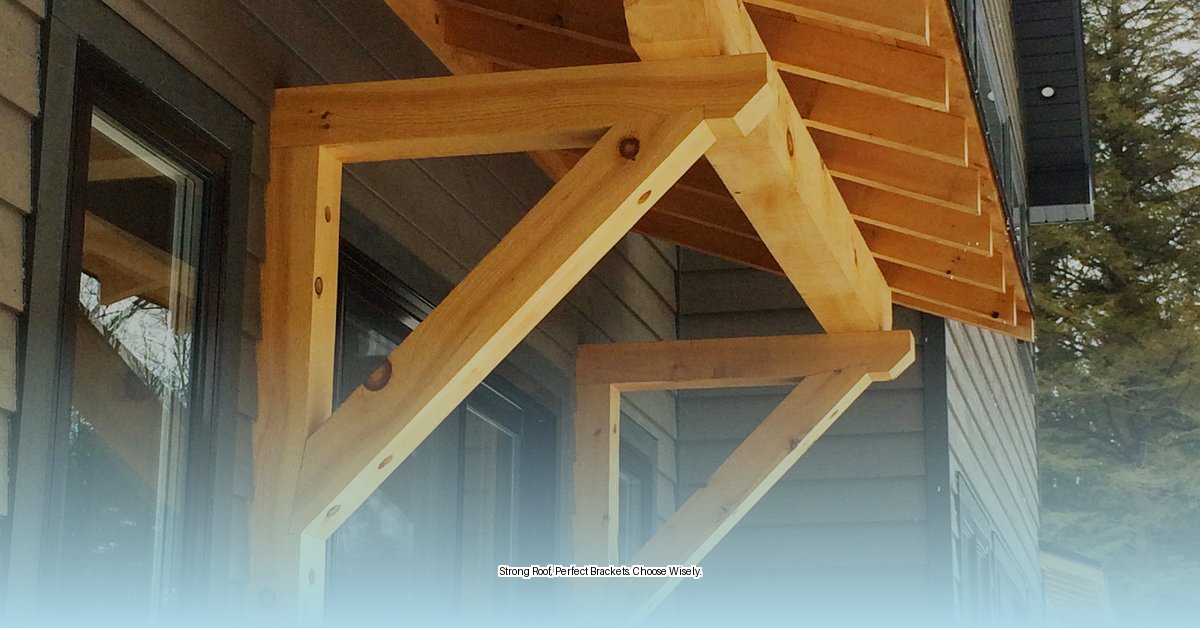
Choosing the Right Roof Brackets: A Deep Dive
Roof brackets are essential for safe and effective roofing work. They provide stable platforms for workers and materials, distributing weight to prevent damage and reduce fall risks. Choosing the correct bracket is crucial for project success.
Understanding Bracket Types and Their Uses
Just as you wouldn’t use a hammer to tighten a screw, different roof brackets suit different tasks. Understanding these distinctions is key to making an informed choice.
- Fixed Brackets: These offer solid support for standard roofing tasks. They come in 90-degree versions for typical slopes and angled versions for steeper or shallower pitches. Think of them as the workhorses of the bracket world.
- Adjustable Brackets: For roofs with unusual angles or multiple slopes, adjustable brackets offer flexibility. They can be adapted to different pitches, providing a secure platform on uneven surfaces.
- Specialty Brackets: These address specific needs, like supporting solar panels or chimneys. They are designed for unique tasks and may not be suitable for general roofing work.
Decoding Bracket Materials: Strength and Longevity
The bracket’s material impacts its durability and lifespan. Steel, especially galvanized or powder-coated, is incredibly strong and weather-resistant. Aluminum offers a lightweight alternative while maintaining impressive strength. Wood, though traditional, requires more maintenance and may not be suitable for all climates.
Selecting the Perfect Bracket: A Step-by-Step Approach
- Determine Roof Pitch: Measure the angle of your roof. This information is crucial for selecting the correct bracket type and angle.
- Calculate the Load: Estimate the total weight the bracket will support, including workers, materials, and equipment. Always overestimate to ensure safety.
- Define the Project: The task at hand (shingle replacement, solar panel installation, etc.) will influence the best bracket choice.
- Identify Roof Material: Knowing your roof material (asphalt shingles, tile, metal) helps determine appropriate fasteners.
- Choose Fasteners: Use the correct fasteners—nails, screws, or bolts—as recommended by the bracket manufacturer.
Installing Roof Brackets: A Safe and Effective Tutorial
Proper installation is paramount for safety and effectiveness. This step-by-step guide provides a comprehensive overview.
Preparation is Key: Gathering Tools and Prioritizing Safety
Before you begin, gather the necessary tools: brackets, fasteners, planks, a nail gun or hammer, safety harness, ladder, measuring tape, and pencil. Always prioritize safety by using a harness and following manufacturer instructions. Roof brackets are not a substitute for proper scaffolding and fall arrest systems.
Installation Steps: A Detailed Walkthrough
- Consult Manufacturer Instructions: This is crucial for specific guidance on your chosen bracket type.
- Adjust Brackets (if adjustable): Set the angle to match the roof pitch, ensuring a secure fit.
- Locate Rafters: Brackets must be attached to rafters for structural integrity. Use a stud finder if necessary.
- Position and Secure Brackets: Carefully lift shingles (if applicable) and slide the bracket under, flush against the rafter. Use the recommended fasteners, ensuring they are securely driven.
- Add Planks: Once brackets are secure, install planks to create a stable working platform. Ensure planks are level and securely fastened.
Post-Installation Check: Ensuring Stability and Safety
After installation, inspect the brackets and planks. Ensure they are securely attached and level. Regularly inspect your brackets for wear and tear, replacing them as needed.
Maintaining and Troubleshooting Roof Brackets: Expert Tips
Regular maintenance and prompt troubleshooting can significantly extend the life of your roof brackets and ensure ongoing safety.
Understanding Bracket Types and Materials: A Deeper Look
Roof brackets come in various types, including L-brackets, rafter ties, and purlin brackets, each serving a specific purpose. Common materials include galvanized steel, offering excellent corrosion resistance, and aluminum, a lightweight yet durable option.
Inspecting Your Brackets: A Practical Guide
Regularly inspect your brackets for signs of rust, corrosion, loose fasteners, or bending. Use a ladder and safety harness for safe access, and binoculars can be helpful for initial visual checks. Document any findings and take appropriate action.
Troubleshooting Common Problems: DIY Solutions and When to Call a Pro
- Loose Brackets: Tighten or replace loose fasteners using the correct type for your bracket material.
- Rust and Corrosion: Remove surface rust with a wire brush and apply a rust inhibitor. For extensive corrosion, consider replacement.
- Bent or Damaged Brackets: Minor bends can sometimes be straightened, but significant damage requires replacement. Consult a professional if you’re unsure.
Preventative Measures: Extending Bracket Lifespan
Regular cleaning, applying protective coatings, and addressing underlying issues like water damage or poor ventilation can prevent future problems. Regular inspections and prompt repairs are also key to maximizing bracket lifespan.
Choosing the Right Roof Brackets: A Comprehensive Guide
This guide helps you choose the ideal roof brackets for your specific needs. Consider the following factors:
- Bracket Type: Gable brackets (decorative), roofing brackets (worker support), pergola/roof riser brackets, chimney brackets, awning brackets.
- Material: Steel (strength, durability), aluminum (lightweight, strong), stainless steel (corrosion resistance), wood (classic aesthetic).
- Weight Capacity: Ensure the bracket can handle the intended load, including potential snow and wind loads. Consult manufacturer specifications for guidance.
- Project Requirements: Matching the bracket to the specific project is paramount. Consider whether you need brackets for roofing, solar installations, chimney work, or another purpose.
- Budget: Bracket prices vary based on material, size, and brand. Balance cost with quality and appropriate function.
Remember, local building codes and manufacturer guidelines may vary. It’s always best to consult those resources for specific advice related to your project and location. Safety should always be your primary consideration, so if you’re uncertain about any aspect of roof bracket selection, installation, or maintenance, consult with a qualified professional. This guide provides general information and shouldn’t be considered a replacement for expert advice.
- Dora the Explorer Wipe-Off Fun: Safe & Mess-Free Activities for Little Explorers - April 18, 2025
- Does Lemongrass Repel Mosquitoes? Fact vs. Fiction + How to Use It - April 18, 2025
- Do Woodchucks Climb Trees?Fact vs. Fiction - April 18, 2025


