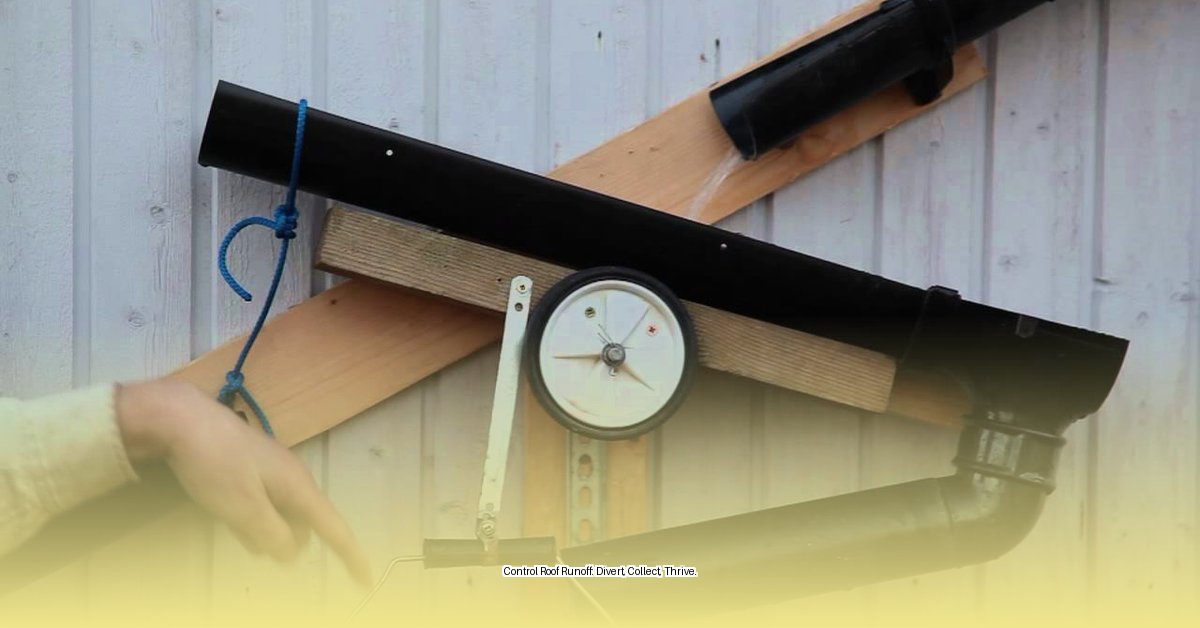
Dealing with overflowing gutters, soggy landscaping, or leaks near your foundation? A roof water diverter might be the solution. This comprehensive guide covers everything you need to know about these handy devices, from installation and maintenance to choosing the best diverter for your specific needs.
Why Install a Roof Water Diverter?
Roof water diverters (also called rain diverters) redirect rainwater away from problem areas, safeguarding your home and landscape. They offer several benefits:
- Prevent Overflowing Gutters: Diverters manage excess water, minimizing gutter overflow.
- Protect Your Foundation: By diverting water away from your foundation, they can prevent cracks, leaks, and costly repairs.
- Safeguard Landscaping: Diverters prevent erosion and protect delicate plants from excessive water flow.
- Combat Ice Dams (in Colder Climates): While there’s some debate about their impact on ice dams, properly installed and maintained diverters may help mitigate this issue. Ongoing research suggests certain diverter designs are less likely to contribute to ice dam formation.
- Keep Entryways Dry: No more slipping hazards on a wet porch!
Types of Roof Water Diverters
Diverters come in various shapes and materials, each with its own pros and cons:
Shapes
- L-Shaped/J-Shaped Flashing: These metal strips tuck under your shingles, subtly redirecting water sideways. They are ideal for diverting water from problem areas like roof valleys.
- Gutter Diverters: These attach to your gutters, acting like a switch to redirect water flow to a different downspout or away from the gutters entirely. They are particularly useful for managing gutter overflow.
- Straight Diverters: These extend the roofline to project water further out. They are often used on sheds or garages.
- Box-Style Diverters: A less common type, box style diverters offer higher capacity for redirecting water, but require more complex installation.
Materials
| Material | Pros | Cons |
|---|---|---|
| Aluminum | Lightweight, rust-resistant, affordable | Can be dented more easily than steel |
| Galvanized Steel | Durable, strong, resists damage | Can rust over time, heavier than aluminum |
| Copper | Long-lasting, visually appealing | More expensive |
Installing an L-Shaped/J-Shaped Diverter: A DIY Guide
Installing a diverter can be a DIY project with the right tools and preparation. Always prioritize safety when working on a roof. If you are uncomfortable with heights or unsure about any step, consult a roofing professional.
- Plan and Measure: Identify the problem area. Measure the width, adding at least 12 inches on each side for the diverter length.
- Gather Materials: You’ll need the diverter, galvanized roofing nails, roofing sealant (tripolymer caulk is a good choice), a pry bar, aviation snips (for cutting the diverter if needed), 80-grit sandpaper, safety glasses, gloves, and a sturdy ladder.
- Prepare the Diverter (Optional): Sand and paint the underside to match your roof. Cut the diverter to size with aviation snips if necessary.
- Loosen Shingles: Gently lift the shingles where the diverter will go using a pry bar.
- Install the Diverter: Slide the diverter under the loosened shingles, ensuring proper angle for water flow.
- Secure and Seal: Nail the diverter securely. Seal all nail heads and edges with roofing sealant.
- Test: Simulate rainfall with a garden hose to verify proper function and check for leaks.
Installing a Gutter Diverter
Installation will vary slightly depending on the specific gutter diverter model. Always consult the manufacturer’s instructions for detailed guidance. Here’s a general overview:
- Choose Placement: Determine the best location on your gutter for optimal water redirection.
- Prepare the Gutter: Some models require minor adjustments to the gutter itself.
- Attach the Diverter: Secure the diverter to the gutter according to the manufacturer’s instructions.
- Connect to Downspout/Drainage: Connect the diverter’s outlet to a downspout, rain barrel, or another designated drainage area.
Maintaining Your Roof Water Diverter
Regular maintenance will extend the life of your diverter and ensure optimal performance.
- Annual Inspection: Check for damage, loose nails, and sealant deterioration.
- Sealant Reapplication: Reapply sealant as needed.
- Debris Removal: Regularly clear debris from the diverter and surrounding gutters.
- Specific Diverter Maintenance: Some diverters, like first flush diverters, may require additional maintenance (e.g., cleaning mesh screens, inspecting valves).
Choosing the Right Diverter
Consider these factors when selecting a diverter:
- Roof Pitch: Steeper roofs require larger or differently shaped diverters.
- Climate: Heavy rainfall or snowfall necessitate durable, high-capacity diverters.
- Budget: Aluminum is typically the most affordable option.
- DIY Skills: Complex installations may require professional help.
- Aesthetics: Choose a material and finish that complements your home’s exterior.
Diverters vs. Gutters: A Combined Approach
Diverters are a targeted solution for specific water problems, while gutters provide comprehensive drainage. Combining both can offer the best protection.
Beyond Diverters: A Holistic Approach to Water Management
For a complete water management system, consider these additional strategies:
- Gutter Guards: Prevent clogs and ensure proper water flow.
- Downspout Extensions: Carry water further from your foundation.
- French Drains: Redirect underground water.
- Grading and Landscaping: Slope the ground away from your house.
- Rain Barrels: Collect rainwater for gardening or other uses.
- Permeable Pavers: Allow water to seep into the ground, reducing runoff.
By following these guidelines and choosing the right diverter for your needs, you can effectively manage rainwater runoff, protect your property, and enjoy peace of mind. Remember, safety is paramount. If you’re unsure about any aspect of installation or maintenance, consult a qualified professional.
- Gray And White Backsplash: Ideas For Timeless Style - December 12, 2025
- Gray Kitchen Backsplash Ideas: Find Your Perfect Gray Tile - December 11, 2025
- Glass Wall Tiles For Bathroom: A Stylish, Durable Choice - December 10, 2025


