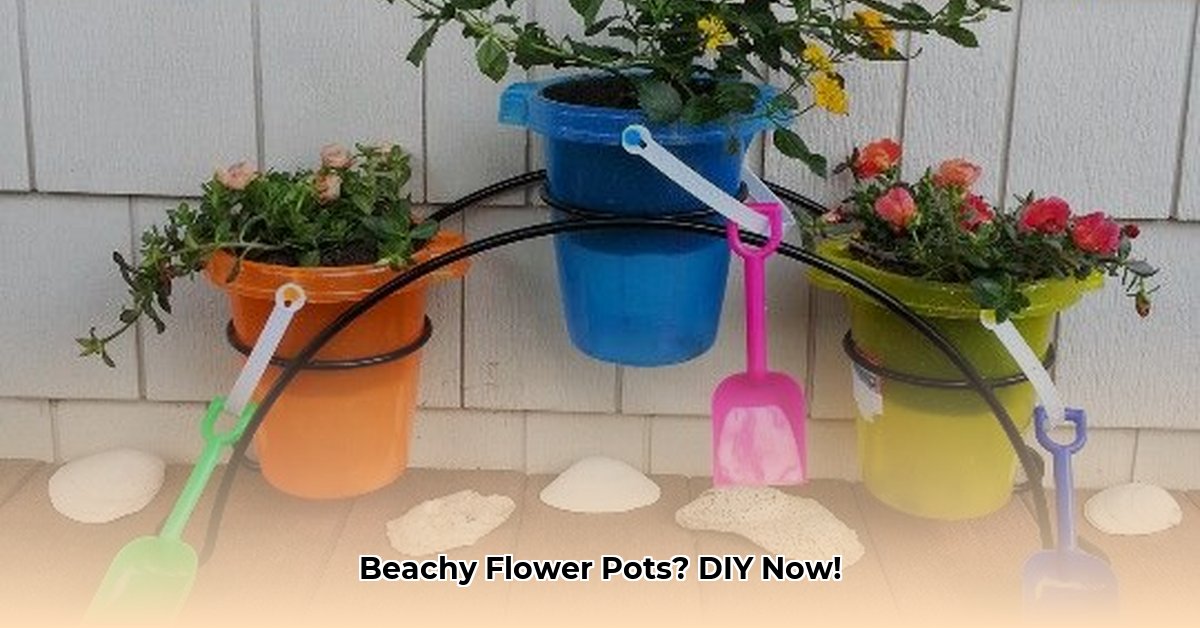
Bring a touch of the coast to your home with charming, sand-covered flower pots. This guide offers two easy methods, perfect for adding a unique, personalized touch to your décor. Whether you’re aiming for a full sandy coating or subtle accents, we’ll guide you through every step, from gathering supplies to troubleshooting common issues.
Getting Started: Gather Your Supplies
Before diving in, let’s gather our crafting treasures. We’ve prepared two lists, one for a full sand coating and another for partial decoration.
Materials for Full Sand Coating
- Terracotta Pots: Terracotta’s porous nature is ideal for sand adhesion, although plastic pots may work in a pinch.
- Coarse Sand (Play Sand): Standard play sand from your local hardware store is perfect. Aim for a coarser texture rather than the very fine variety.
- Exterior-Grade PVA Glue: This glue provides a durable bond between the sand and pot, essential for weather resistance. Regular school glue is unlikely to hold up outdoors.
- Waterproof Sealant (Matte or Glossy): Sealing protects your creation from the elements and prevents sand from flaking.
- Paintbrushes or Foam Brushes: Any brush will do, but foam brushes can offer smoother application.
- Mixing Container: A plastic bucket, bowl, or even a reusable yogurt container will suffice.
- Drop Cloth or Old Newspaper: Protect your work surface from sandy spills.
- Optional Extras: Painter’s tape for clean lines, embellishments (shells, stones, sea glass), and other decorative items.
Materials for Partial Sand Decoration
- Flower Pots (Any Material): You can use any pot material for partial decoration—terracotta, plastic, ceramic, or metal.
- Fine Sand: Finer sand creates a more delicate look for detailed designs.
- Strong Adhesive (PVA Glue or Craft Adhesive): Choose an adhesive suitable for your pot’s material.
- Small Paintbrushes: Smaller brushes offer greater precision for intricate details.
- Drop Cloth or Old Newspaper: Protect your work surface.
- Optional Extras: Stencils, colored sand, and glitter can enhance your design.
Crafting Your Sandy Masterpiece: Two Techniques
This guide details two methods for creating sand-covered flower pots: full coating for a complete sandy look, and partial decoration for targeted accents.
Method 1: Full Sand Coating
- Prep Your Pots: Wash and thoroughly dry your terracotta pots. A clean, dry surface is essential for proper adhesion.
- Mix the Sand and Glue: In your mixing container, combine coarse sand and PVA glue to a pancake batter consistency. Add more sand if too runny, or a touch of water if too thick.
- Apply the Mixture: Using your brush, apply a generous, even coat to the pot’s exterior. Work in sections to prevent drips and ensure even coverage.
- Smooth or Texture: You can smooth the surface with your brush for a uniform look or leave it textured for a more rustic feel.
- Drying Time: Allow the pot to dry completely, which may take several hours or overnight.
- Seal Your Creation: Apply several coats of waterproof sealant, letting each coat dry completely before applying the next. This crucial step protects your pot and prevents sand from flaking.
Method 2: Partial Sand Decoration
- Clean Your Pots: Start with clean pots for optimal adhesion.
- Apply Adhesive: Use a small paintbrush to apply adhesive to the areas where you want the sand to stick. If using a stencil, apply it now.
- Sprinkle the Sand: Generously sprinkle fine sand over the adhesive, ensuring full coverage.
- Remove Excess Sand: Gently tap or shake the pot to remove any loose sand.
- Dry and Seal (Optional): Let the adhesive dry thoroughly. Consider applying a sealant for added protection, especially for delicate materials or outdoor use.
Troubleshooting and Tips
- Sand Falling Off: This probably suggests insufficient adhesive or sealant. Apply another layer of either to secure the loose sand.
- Uneven Coverage: Thin, even coats of the sand mixture are key to avoiding unevenness.
- Clumps of Sand: A too-thick sand and glue mixture can cause clumping. Add a small amount of water to thin the mixture.
- Adding Sparkle: Mix glitter with the sand for a dazzling effect.
- Creative Designs: Use stencils, painter’s tape, colored sand, or other embellishments to personalize your pots.
Plant Recommendations and Design Ideas
Succulents, cacti, and Mediterranean herbs are well-suited to sandy environments. Beach grasses offer a true coastal vibe. Consider the plants’ mature size to ensure they won’t outgrow their pots.
Choosing the Right Glue: A Quick Guide
| Adhesive | Pros | Cons | Best Use |
|---|---|---|---|
| White Glue | Inexpensive, easy to clean | Not waterproof, can become brittle | Indoor pots |
| Mod Podge | Attractive finish, seals effectively | May not be as strong as other options | Indoor pots |
| Hot Glue | Quick drying, strong hold | Can be messy, not waterproof | Indoor decorations |
| E600/Construction Adhesive | Waterproof, extremely strong, durable | Strong odor, requires ventilation | Outdoor pots |
Ongoing research suggests that new adhesives and techniques are constantly being developed, so explore different options.
Caring for Your Sand-Covered Pots: Preventing a “Sandy” Texture
Over time, outdoor pots may develop a rough, sandy texture due to weathering, manufacturing defects, or improper cleaning. Here’s how to address and prevent this:
Prevention:
- Sealing: Sealing pots before exposure to the elements is crucial, especially for terracotta. Choose a sealant appropriate for your pot’s material.
- Gentle Cleaning: Use mild soap and water, avoiding harsh chemicals and abrasive scrubbing.
- Protection from the Elements: Providing some shelter from harsh weather can significantly extend the life of your pots.
Solutions:
- Terracotta: Gentle cleaning with mild soap and water, followed by sealing with a suitable sealant like linseed oil or diluted beeswax.
- Ceramic: Washing with mild soapy water and a soft brush. Repair cracks with ceramic adhesive.
- Concrete: Use epoxy or concrete patch for cracks, and seal thoroughly.
- Fiberglass: Wash with mild soap and water and a soft sponge.
- Plastic: Wash with mild soap and water and a soft cloth. Some specialized plastic restorers may be available.
Ongoing research is exploring the long-term effects of various sealants and cleaning methods, so stay informed about the latest recommendations. Sharing your experiences can contribute valuable knowledge.
Conclusion: Share Your Sandy Creations!
Creating sand-covered flower pots is a fun, rewarding way to bring a touch of the beach to your home. Gather your materials, unleash your creativity, and transform ordinary pots into unique, beach-inspired décor. We’d love to see your creations – share your sandy masterpieces and inspire others!
- How to Get Rid of Mushrooms in Your Lawn: A Complete Guide - April 24, 2025
- How to Get Rid of Ground Hornets: A Safe and Effective Guide to Eliminating Nests - April 24, 2025
- How to Get Rid of German Roaches Fast: DIY Methods for Quick Control - April 24, 2025


