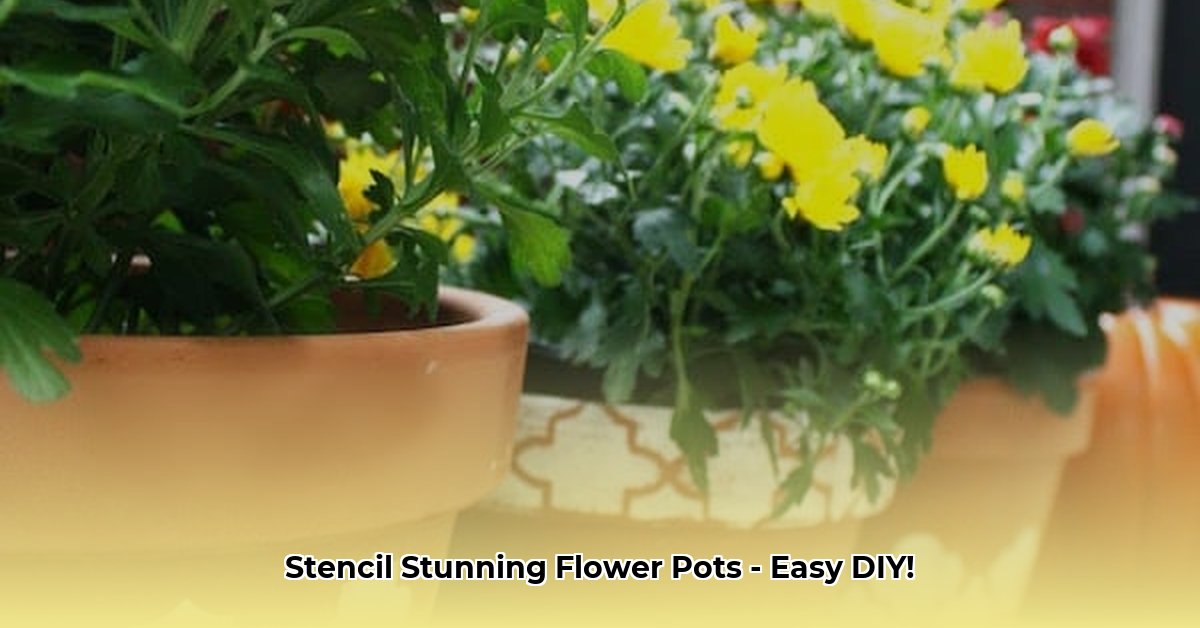
Ready to give your flower pots a serious style upgrade? Stenciling is a simple way to transform ordinary pots into personalized works of art. This guide provides everything you need to know, whether you’re a beginner or a crafting pro. Let’s get started!
Essential Supplies
Before you begin, gather your supplies. Having the right tools makes the process smoother and more enjoyable.
Basic Kit:
- Flower pots (terracotta, plastic, wood)
- Acrylic craft paint
- Stencil(s)
- Stencil brush or dense foam roller
- Painter’s tape
Intermediate Kit (adds to Basic Kit):
- Multiple paint colors
- Sealer
- Small detail brushes
Advanced Kit (adds to Intermediate Kit):
- Specialty paints (metallic, glitter, textured)
- Stencil adhesive
- Fine-tipped brushes
- Cutting machine (Cricut or Silhouette) & stencil film (for custom designs)
Optional, but Helpful:
- Paper plates (for paint palettes)
- Drop cloth or newspaper
- Gloves
- Fine-grit sandpaper (for prepping)
- Cleaning rags
- Tweezers (for small stencil pieces)
| Item | Description | Alternative |
|---|---|---|
| Flower Pot | Terracotta, plastic, wood | Recycled containers |
| Stencil | Pre-made or DIY | Cookie cutters, lace |
| Paint | Acrylic, chalk paint, spray paint | Fabric paint, markers |
| Brush | Foam brush, stencil brush, dense foam roller | Sponge, cloth |
| Tape | Painter’s tape | Stencil adhesive |
| Sealant | Protects design (especially outdoors) | Clear varnish |
| Sandpaper | Creates a weathered look (optional) | Steel wool |
| Other | Embellishments (ribbons, beads, glitter – optional) | Shells, stones, twine |
Prepping Your Pots
Clean your pots with soap and water, letting them dry completely. Lightly sand terracotta pots for better paint adhesion. A sealant can also help with this, but if you use a sealant, let it cure for at least 24 hours before painting. For plastic, consider a primer designed for plastic.
Stenciling Steps
- Secure the Stencil: Use painter’s tape or stencil adhesive to firmly affix the stencil to the pot. This prevents smudging and ensures clean lines.
- Apply Paint: Less is more. Dip your brush or roller in the paint and dab off excess onto a paper plate. Apply paint with a gentle pouncing or swirling motion. Avoid brushing back and forth.
- Reveal Your Design: Carefully peel off the stencil while the paint is still slightly wet to prevent cracking.
- Layer (Optional): For multi-color or layered designs, let the first layer dry completely before applying the next stencil.
Design Inspiration
- Botanical: Leaves, flowers, vines, branches
- Geometric: Stripes, chevrons, polka dots, mandalas
- Themed: Holidays, seasons, animals, quotes
Find stencils at craft stores, online, or create your own using a cutting machine and stencil film.
Troubleshooting
- Bleeding: Use less paint, dab more thoroughly, or use stencil adhesive.
- Smudging: Ensure the stencil is secure and avoid touching it while wet. Remove the stencil carefully while the paint is still slightly damp.
Paint & Surface Compatibility
- Terracotta: Acrylic craft paints are ideal.
- Plastic: Spray paint or paint formulated for plastic is recommended. A primer may be needed. Some paints may require sanding the plastic to help the paint adhere better.
- Wood: Exterior latex paint or wood stain offers durability.
Sealing and Finishing
Once dry, seal your design, especially for outdoor pots. Choose a sealant compatible with your paint type. This protects your artwork and extends its life.
Advanced Techniques
- Layering: Create depth and dimension with multiple stencils.
- Ombre: Blend different shades of the same color for a gradient effect.
- Masking: Use tape to create sharp lines and geometric shapes.
- Dry Brushing: Add a contrasting color for a weathered look.
Conclusion
Stenciling flower pots is a fun and affordable way to add personality to your space. Don’t be afraid to experiment and let your creativity bloom! Share your creations and inspire others. What will you create?
- How to Measure Your Belt Size (for Women): 3 Easy & Accurate Methods - April 27, 2025
- How to Remove Permanent Hair Dye From Hair: Safe & Effective Methods - April 27, 2025
- How to Remove Ink from Leather: Effective DIY Methods and Expert Tips - April 27, 2025


