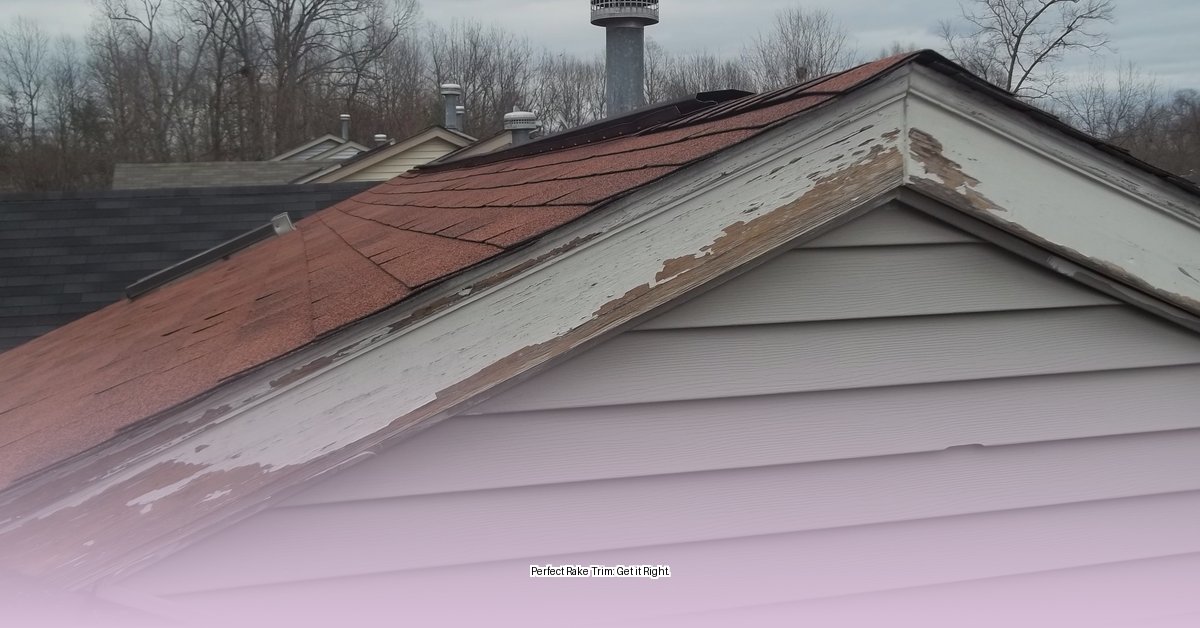
Rake trim, the finishing touch on your roof’s edge, does more than just look good—it’s crucial protection against the elements. This guide provides a comprehensive overview of rake trim installation, from choosing the right material to mastering the techniques for a professional-looking finish. Whether you’re a seasoned DIYer or considering hiring a pro, this guide has you covered.
Understanding Rake Trim: Why It Matters
Rake trim acts as your roof’s first line of defense, shielding the vulnerable edges from wind, rain, snow, and ice. It channels water away, preventing damage, rot, and those dreaded ice dams. Think of it as essential armor for your home, preserving its structural integrity and enhancing its curb appeal.
Choosing the Right Material: Finding the Perfect Fit
Selecting the ideal rake trim material involves balancing cost, durability, and aesthetics. Here’s a breakdown of popular options:
| Material | Pros | Cons |
|---|---|---|
| Aluminum | Lightweight, rust-resistant, affordable. | Can dent more easily than steel. |
| Steel | Extremely durable and strong. Galvanized steel offers superior rust resistance. | Heavier and potentially more difficult to work with. |
| Copper | Develops a beautiful patina, long-lasting, elegant. | Most expensive option. |
| Vinyl | Budget-friendly, easy to install, moisture-resistant. | Less durable than metal, can become brittle in extreme cold. |
| Treated SPF Wood | Strong, readily available, easy to work with. Offers a unique, natural look. | Requires regular maintenance (sealing/painting) to prevent rot. |
| Fiber Cement | Incredibly durable, fire-resistant, insect-proof. | Heavy, requires specialized cutting tools, can be brittle. |
| Composite | Combines durability with low maintenance, often pre-finished. | Can be more expensive than other options, color may fade. |
Consider your local climate and budget when making your choice. For coastal areas, aluminum’s corrosion resistance is a plus. In high-wind regions, steel’s durability might be preferable. Some experts believe that composite materials offer the best long-term value due to their low maintenance needs, although ongoing research may suggest otherwise.
Installing Rake Trim: A Step-by-Step Guide
While the specific installation process varies slightly depending on the material, these general steps apply:
1. Preparation is Key
Accurate measurements are crucial. Measure each rake edge twice to avoid costly mistakes. Gather your tools: safety glasses, gloves, a saw appropriate for your material, drill, sealant, fasteners, and a ladder.
2. Cutting with Precision
Carefully cut your rake trim material to the measured lengths, ensuring clean, precise cuts. For angled cuts at the roof peak, a miter saw is recommended.
3. Sealing for Protection
Apply a generous bead of high-quality exterior sealant along the roof edge where the trim will be installed. This waterproof barrier is your primary defense against leaks.
4. Fastening for Security
Align the trim with the roof edge and fasten it securely using appropriate screws or nails. Space fasteners evenly for optimal hold. Pre-drilling pilot holes is recommended for metal trim to prevent cracking. For materials like SPF wood, consult resources like Belco Forest Products for specific recommendations on sizing and installation.
5. Finishing Touches
Inspect your work, ensuring a tight, secure fit and a seamless, professional appearance. For materials like treated SPF wood, apply a primer and paint or sealant for added protection and aesthetic appeal.
Specialized Installation Notes
- SPF Wood: When working with SPF wood (like 2x8s), consider cutting the peak angle first. This can simplify the installation process.
- Metal Trim: Overlap adjacent pieces by at least one inch for a weathertight seal.
Maintaining Your Rake Trim: Ensuring Long-Term Performance
Regular maintenance is crucial for maximizing the lifespan of your rake trim. Inspect it annually (or bi-annually in harsher climates) for any signs of damage, loose fasteners, or sealant failure. Address any issues promptly to prevent larger problems. Cleaning your rake trim annually can also remove debris and improve its appearance.
When to Call a Professional
While rake trim installation is often a manageable DIY project, some situations warrant professional help. Consider hiring a roofer if:
- You’re uncomfortable working at heights.
- Your roof has a complex design.
- You lack the time or tools.
- You’re unsure about any aspect of the process.
Professional installation often comes with warranties, offering added peace of mind. It may seem like a larger up-front investment, but current research suggests that professional installation can often result in long-term cost savings by preventing future damage.
Troubleshooting Common Issues
- Leaks: If you notice leaks, inspect the sealant. Reapplication or additional sealant may be necessary.
- Loose Trim: Tighten or replace loose fasteners.
- Damaged Trim: Repair or replace the damaged section.
By following these guidelines, you can ensure your rake trim is installed correctly, protecting your home for years to come. Remember to always prioritize safety and consult local building codes before starting any roofing project.
- Dora the Explorer Wipe-Off Fun: Safe & Mess-Free Activities for Little Explorers - April 18, 2025
- Does Lemongrass Repel Mosquitoes? Fact vs. Fiction + How to Use It - April 18, 2025
- Do Woodchucks Climb Trees?Fact vs. Fiction - April 18, 2025


