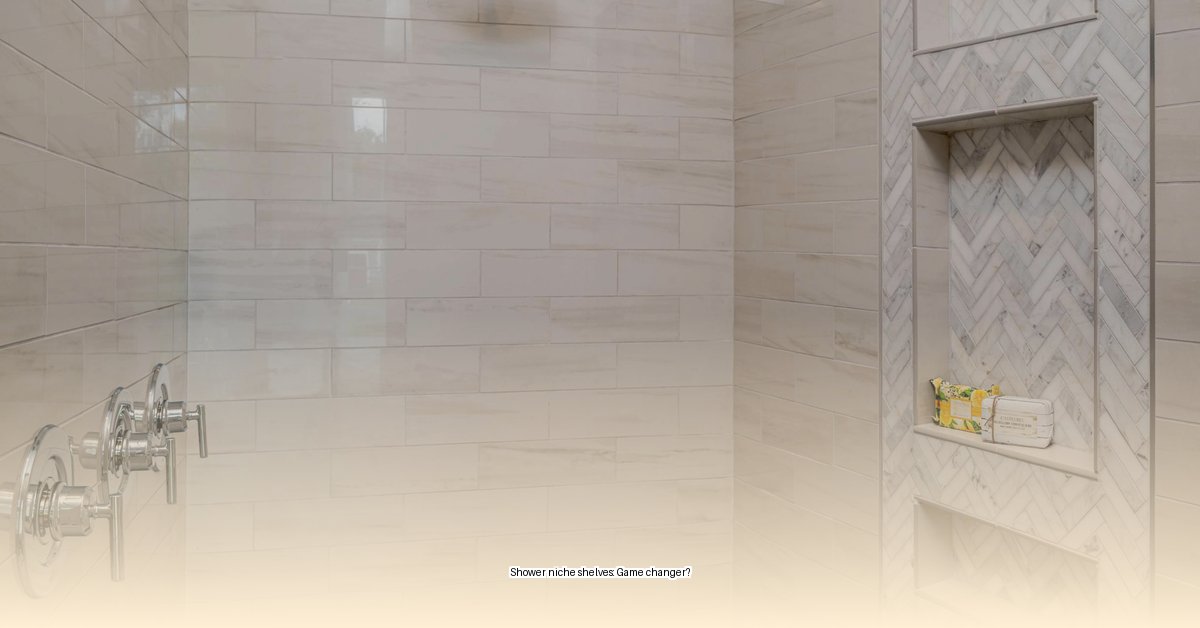
Tired of precarious shampoo bottle towers and rusty caddies? A shower niche is a stylish and practical upgrade. This comprehensive guide covers everything from material selection and sizing to installation and maintenance, ensuring your niche project is a splashing success.
Choosing the Perfect Niche
Material Matters
Your niche’s material impacts both aesthetics and durability.
- Tileable: Seamlessly integrates with your shower tile for a cohesive look. It offers design flexibility but can be tricky to install.
- Stainless Steel: Sleek, modern, and rust-resistant, offering exceptional durability. However, it tends to be pricier. (Example: Schluter Systems)
- Plastic: A budget-friendly and easy-to-install option. While practical, it may lack the style of other materials.
- Natural Stone: Luxurious options like marble or granite elevate your shower’s aesthetic. However, they are porous and require regular sealing to prevent water damage. Some stones, like marble, are prone to scratching.
- Glass: Minimalist and elegant, allowing your tile work to shine. Tempered glass is crucial for safety, and proper drainage is essential to avoid soap scum buildup.
Prefabricated vs. Custom-Built
- Prefabricated: These ready-made inserts simplify installation, much like assembling flat-pack furniture. They’re generally more budget-friendly but offer limited customization. (Example: Tile Redi USA)
- Custom-Built: Unleash your creativity with complete control over size, shape, and shelf placement. While offering design freedom, custom niches require professional expertise and likely increase the project cost.
Sizing and Placement
Finding the Right Fit
Measure your largest shower products to determine the necessary niche dimensions.
- Standard Sizes: 12″ x 24″ is a popular choice, while 12″ x 18″ suits smaller showers. Compact 12″ x 12″ niches paired with separate soap dishes can be effective in tight spaces. Larger showers can accommodate spacious 36″ x 12″ niches.
- Depth: Aim for 3.5″ to 4″ to accommodate most products. Steel stud walls might limit depth to 2.5″. Shelf-style niches can extend up to 12″ deep.
- Height: Position the niche bottom around 47″ from the floor for average adult reach. Adjust the height for children or users with mobility limitations.
Horizontal vs. Vertical
- Horizontal: Spans between wall studs, potentially involving more complex installation.
- Vertical: Fits within a standard stud bay, often simplifying installation. Vertical niches offer greater flexibility for shelving placement.
Installation: A Step-by-Step Guide
Prefabricated Niche Installation
- Preparation: Clear the wall cavity and ensure proper plumbing line routing.
- Dry Fit: Test the niche fit before applying any adhesive.
- Securing: Use manufacturer-recommended adhesive or fasteners.
- Waterproofing (Crucial!): Apply a waterproof membrane around the niche flange for a tight seal.
- Tiling: Tile around the niche opening using spacers for even grout lines.
- Grouting and Sealing: Grout the tiles and apply sealant for moisture protection.
Custom-Built Niche Installation (Consult a Professional)
Building a custom niche involves framing, waterproofing, and tiling, requiring expertise best left to professionals. They’ll ensure proper installation and waterproofing to prevent future issues.
Common Installation Errors
- Inadequate Waterproofing: This can lead to mold, mildew, and costly repairs. Use high-quality waterproofing materials and meticulous application.
- Incorrect Tile Cutting: Precise cuts are essential for a professional finish. Double-check measurements before cutting tiles.
- Poor Planning: Not measuring shower products or considering user needs can result in a niche that’s either too small or poorly placed.
- Ignoring Building Codes: Failing to adhere to local building codes can lead to problems down the line. Consult with a professional to ensure compliance.
Maximizing Your Niche
Multiple Shelves
- Spacing: Optimize shelf spacing based on stored item heights.
- Visual Appeal: Staggered shelves and varying depths create a dynamic look.
- Reinforcement: Reinforce the niche structure for heavier materials like stone.
Luxury Touches
- Integrated Lighting: Enhances visibility and adds a spa-like ambiance.
- Built-in Soap Dishes: Streamlines the niche’s appearance and functionality.
- Tilted Shelves: Promote water drainage and prevent product buildup.
Maintenance
Regularly wipe the niche with a non-abrasive cleaner to prevent soap scum and residue. Avoid harsh chemicals that may damage the finish.
By following this comprehensive guide, you can confidently choose and install the perfect shower niche, transforming your bathroom into a stylish and functional retreat.
- Ceramic Kitchen Wall Tiles: Style and Protection for Your Walls - December 17, 2025
- Kitchen tiling wall: Elevate your kitchen with stylish wall tiles - December 16, 2025
- Gray Kitchen Backsplash Tile: Ideas for a Stylish Upgrade - December 14, 2025


