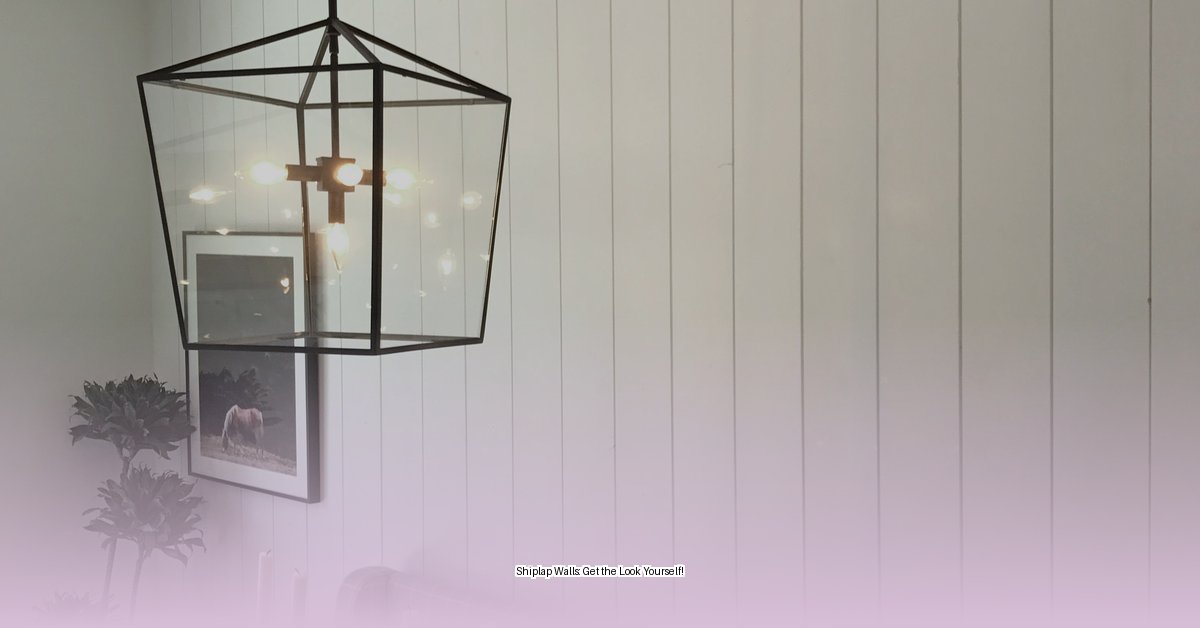
Want to add a touch of modern farmhouse charm or a sleek, contemporary vibe to your home? Vertical shiplap might be just what you’re looking for! This comprehensive guide covers everything from design inspiration and material selection to step-by-step installation and troubleshooting tips. Let’s transform your walls!
Design Inspiration: Visualizing Your Vertical Vision
Vertical shiplap isn’t just a trend; it’s a versatile design element that can elevate any space. Imagine a cozy bedroom with a shiplap accent wall painted a calming sage green, or a dramatic dining room featuring a bold, navy blue shiplap backdrop. The possibilities are endless! Vertical lines naturally draw the eye upward, creating the illusion of higher ceilings, a particularly welcome effect in rooms with lower ceilings. It’s a simple yet powerful way to add architectural interest and make a room feel more open and airy.
Choosing Your Materials: The Foundation of Your Project
Before you grab your hammer, let’s talk materials. Your choice significantly impacts both the final look and the overall cost. Here’s a breakdown of popular options:
| Material | Pros | Cons | Estimated Cost (per sq ft) |
|---|---|---|---|
| Pine | Budget-friendly, easy to work with | Can have knots, might need extra prep | $2-$4 |
| Cedar | Naturally resists rot, beautiful grain | Can be pricey | $4-$6 |
| MDF | Smooth surface, cost-effective | Not ideal for damp areas like bathrooms | $1-$2 |
| Pre-fabricated Shiplap Panels | Grooves pre-cut, simplifies installation | Can be more expensive, less design flexibility | $3-$5 |
| Reclaimed Wood | Unique character, eco-friendly | Can be more expensive, requires more prep work | Varies Widely |
These are estimates, and prices may vary. Engineered wood offers a potential compromise between real wood and MDF, and ongoing research suggests new sustainable materials might emerge in the future.
Gathering Your Tools: Equipping Yourself for Success
Assemble your toolkit like a seasoned pro: measuring tape, level, stud finder, pencil, safety glasses, nail gun (or hammer and finishing nails), saw (circular or miter), spacers (nickels or thin wood strips work well), caulk, wood filler, sandpaper, paint or stain, brushes or rollers, and 1x4s for baseboard and top trim. Having everything on hand streamlines the installation process.
Step-by-Step Installation: Bringing Your Vision to Life
-
Prep Work: Clean the wall, patch imperfections, and remove existing baseboards. Pre-paint shiplap edges to save time later.
-
Baseboard Installation: Install your 1×4 baseboard.
-
First Board is Key: Starting in a corner, position the first board plumb (perfectly vertical) using a level. This sets the tone for the entire project.
-
Spacing for Style: Use spacers (1/8 inch is standard, but experiment!) for consistent gaps.
-
Secure the Boards: Nail into studs whenever possible, aiming for the tongue of the shiplap to minimize visible nail holes.
-
Tricky Cuts: Use a jigsaw or coping saw for outlets and switches.
-
Finishing Touches: Caulk seams (optional), fill nail holes, sand smooth, and apply your chosen paint or stain. Install the top trim.
Design Ideas: Unleashing Your Creativity
Vertical shiplap is incredibly versatile. A full wall creates a dramatic focal point, while using it as an accent behind furniture adds a touch of rustic charm. Experiment with gap sizes and paint colors – a deep navy can be dramatic, while a soft green is calming. Consider the room’s function and your design style to personalize the look.
Budget Breakdown: Planning for Success
The cost varies depending on the wood type, wall size, and whether you DIY or hire a pro. DIYing significantly reduces expenses. Get multiple contractor quotes if you’re not going the DIY route.
Pros and Cons of Vertical Shiplap: Weighing the Options
Pros:
- Creates the illusion of height.
- Modern and stylish aesthetic.
- Adds architectural interest.
- Relatively DIY-friendly.
- Easier to clean than horizontal shiplap.
Cons:
- Can be trickier to install than horizontal shiplap, requiring precise measurements.
- Potential for more material waste.
Why Vertical Shiplap? A Recap of the Benefits
Vertical shiplap offers a fresh, unique take on a classic design. It visually expands rooms, complements various styles, and adds a touch of timeless elegance. While it may require a bit more planning and precision than horizontal shiplap, the results are well worth the effort. Ready to transform your space? Let’s get started!
- Memorial Stones for Gardens: A Guide to Creating a Lasting Tribute - April 29, 2025
- Melon Cut Diamonds: A Comprehensive Guide - April 29, 2025
- MarketStreet Lynnfield Stores: A Complete Directory & Shopping Guide - April 29, 2025


