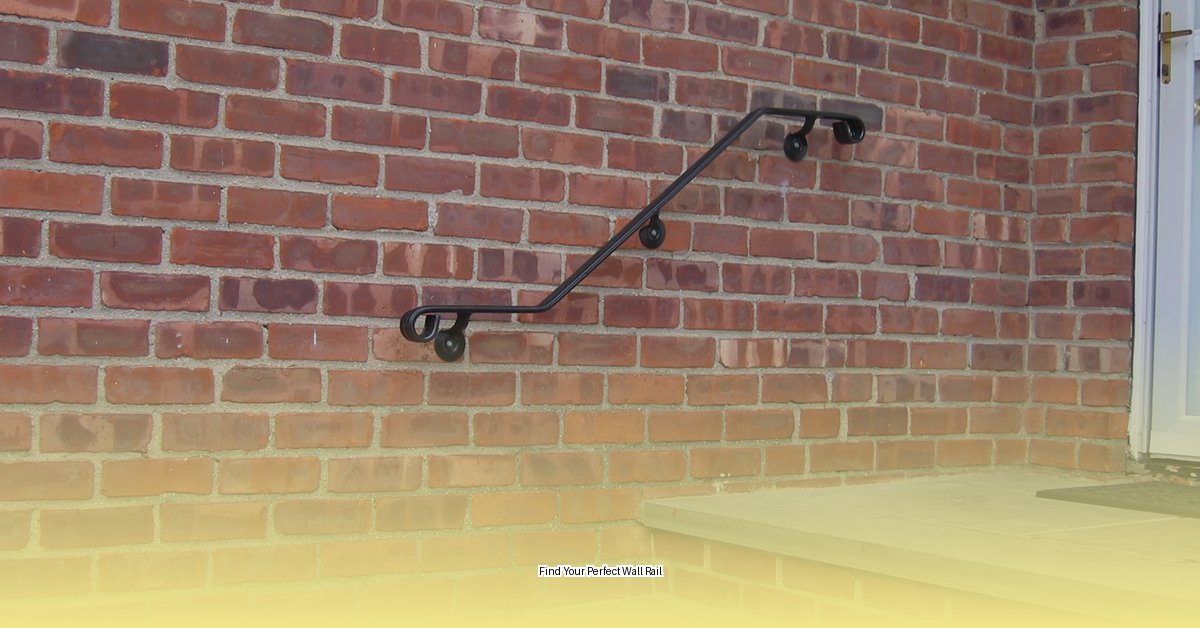
This comprehensive guide provides step-by-step instructions for installing various types of wall rails, including handrails, stair rails, picture rails, and kitchen rails. Whether you’re a seasoned DIYer or just starting, this guide offers valuable insights into material selection, style choices, installation techniques, and essential building code compliance.
Planning Your Wall Rail Project
Before diving into installation, careful planning is crucial for a successful outcome. Consider the following factors:
Purpose and User Needs
- Functionality: Determine the rail’s primary purpose. Is it for safety and support, decorative purposes, or both?
- Users: Who will be using the rail? Children, elderly individuals, or people with disabilities may require specific design considerations for accessibility. This will influence material choices and placement.
Material Selection
- Wood: Offers a classic, warm aesthetic, but requires regular maintenance (painting or staining). Popular choices include oak, maple, and pine. Some experts suggest wood for traditional or rustic interiors.
- Metal: Provides durability and a modern look. Stainless steel is ideal for high-traffic areas and outdoor use due to its rust resistance. Aluminum offers a lightweight alternative, while wrought iron provides a decorative touch.
- Composite: Combines the look of wood with the low-maintenance benefits of synthetic materials. This may be a suitable choice for busy households or those seeking a long-lasting, hassle-free option.
Measurements and Building Codes
- Accurate Measurements: Precise measurements are crucial. Measure the area where the rail will be installed, accounting for any angles or curves. Double-checking measurements is essential to avoid costly mistakes and ensure a perfect fit.
- Building Codes and Regulations: Research and adhere to local building codes and the Americans with Disabilities Act (ADA) guidelines for handrail height, placement, and load-bearing capacity. Compliance ensures safety and accessibility for all users. Building codes often specify minimum and maximum heights for handrails, particularly on staircases and ramps. The International Building Code (IBC) and International Residential Code (IRC) serve as valuable resources, but local codes can vary and should always be your primary guide.
- ADA Compliance: If installing for accessibility, ADA guidelines are paramount. These guidelines specify dimensions, placements, and other criteria to ensure usability for everyone, regardless of physical limitations.
Installation: A Step-by-Step Guide
This section details the installation process, covering various scenarios and materials.
1. Locating Studs and Marking Bracket Positions
- Stud Finding: Use a stud finder to locate and mark wall studs. Studs provide the structural support for secure anchoring. If studs aren’t available, appropriate wall anchors are necessary.
- Bracket Placement: Mark bracket locations aligned with studs. Ensure even spacing and proper height, typically 34-38 inches for handrails. A chalk line or level can be helpful to ensure a straight line. The general recommendation is 36 inches, but this is subject to local building code requirements and specific user needs.
2. Pre-Drilling and Attaching Brackets
- Pre-Drilling: Pre-drill pilot holes to prevent wood from splitting, especially when using hardwoods. The pilot holes should be slightly smaller than the screw diameter.
- Bracket Installation: Secure brackets to the wall using appropriate screws. Ensure they’re level and firmly attached for optimal stability and load-bearing capacity.
3. Mounting the Rail
- Rail Attachment: Position the rail onto the brackets. Specific fastening methods vary based on the bracket type. This may involve screwing through the bracket into the rail or using specialized fasteners provided by the manufacturer.
- Stability Check: Once mounted, vigorously test the rail’s stability to ensure it can withstand intended use and weight.
4. Addressing Different Installation Scenarios
- Stair Rails: Angled brackets are often required for stair installations. Accurate angle measurements are vital for proper fit and support.
- Handrails for Accessibility: Ensure compliance with ADA guidelines, which address handrail extensions, clearances, and diameters for optimal usability.
- Wall Anchors (if no studs): Choose anchors suitable for your wall type (drywall, concrete, etc.) and weight requirements. Proper anchor installation is critical for safety.
Maintaining Your Wall Rail
Regular maintenance ensures the longevity and safety of your wall rail.
- Regular Inspections: Periodically inspect for loose screws, damage, or wear. Promptly address any issues to prevent further problems. This proactive approach can save you from more extensive repairs down the line.
- Cleaning: Regularly clean the rail using appropriate methods based on the material. Wood may require polishing or refinishing, while metal might need cleaning with a gentle detergent and a soft cloth.
- Refinishing (Wood): Wooden rails may require refinishing to protect them from moisture and wear. This typically involves sanding and applying a fresh coat of stain or paint.
Final Thoughts
By following these steps and considering the unique aspects of your project, you can successfully install a wall rail that enhances both safety and style. Remember to always prioritize safety, adhere to building codes, and consult with professionals if needed. A properly installed wall rail provides lasting value, improves accessibility, and adds a touch of elegance to your home.
- Grass Forever in Livermore: Your Guide to Artificial Turf - April 22, 2025
- German Roaches vs. American Roaches: Key Differences and Control - April 22, 2025
- 150+ Flowers That Start With S: A Comprehensive Guide - April 22, 2025


