Explore our comprehensive guide to discover the best at home nail kit Australia for a salon-quality manicure and pedicure experience. Whether you’re a seasoned nail enthusiast or seeking a hassle-free alternative to frequent salon visits, this article will help you achieve remarkable results from the comfort of your own home. Dive in to uncover the top choices, expert advice, and practical tips to transform your nails into masterpieces.
Key Takeaways:
- Types of At-Home Nail Kits:
- Gel nail kits: Allow for gel manicures.
-
Acrylic nail kits: Enable acrylic nail application.
-
Benefits of DIY Nail Kits:
- Convenience: Saves time and money by doing nails at home.
- Customization: Flexibility in choosing colors, designs, and styles.
- Minimal Equipment: Basic tools like UV/LED lamp and nail files suffice.
-
Beginner-Friendly: Many kits offer detailed instructions and video tutorials.
-
Top-Rated At-Home Nail Kits:
- Gelish PolyGel Nail Enhancement System
- Gellaka Pro Matte or Shine Gel Nail Kit
- Artistic Nail Design Gel On Xtensions Kit
- Kredioo Rechargeable Nail Drill for Home Use
-
Gelish Hard Gel System Starter Kit
-
Considerations for Choosing an At-Home Nail Kit:
- Skill Level: Consider kits that match your expertise.
- Quality: Look for high-quality materials to ensure lasting results.
- Tools: Ensure the kit includes essential tools like UV/LED lamps and nail files.
- Reviews: Read online reviews to learn about other customers’ experiences.
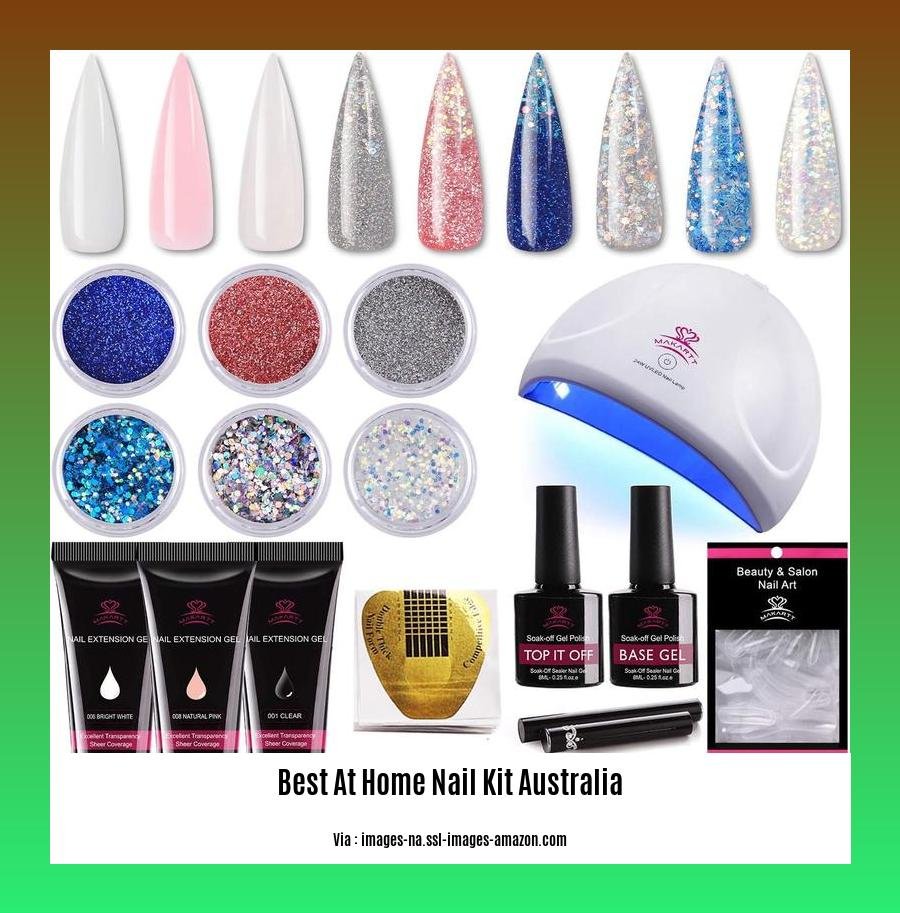
Best at Home Nail Kit Australia
Welcome to the world of DIY nail art! In this comprehensive guide, we take you through the exciting journey of creating stunning salon-quality manicures and pedicures from the comfort of your home. Along the way, we’ll unveil the secrets to choosing the best at-home nail kit Australia and provide tips for achieving flawless results.
Types of At-Home Nail Kits
-
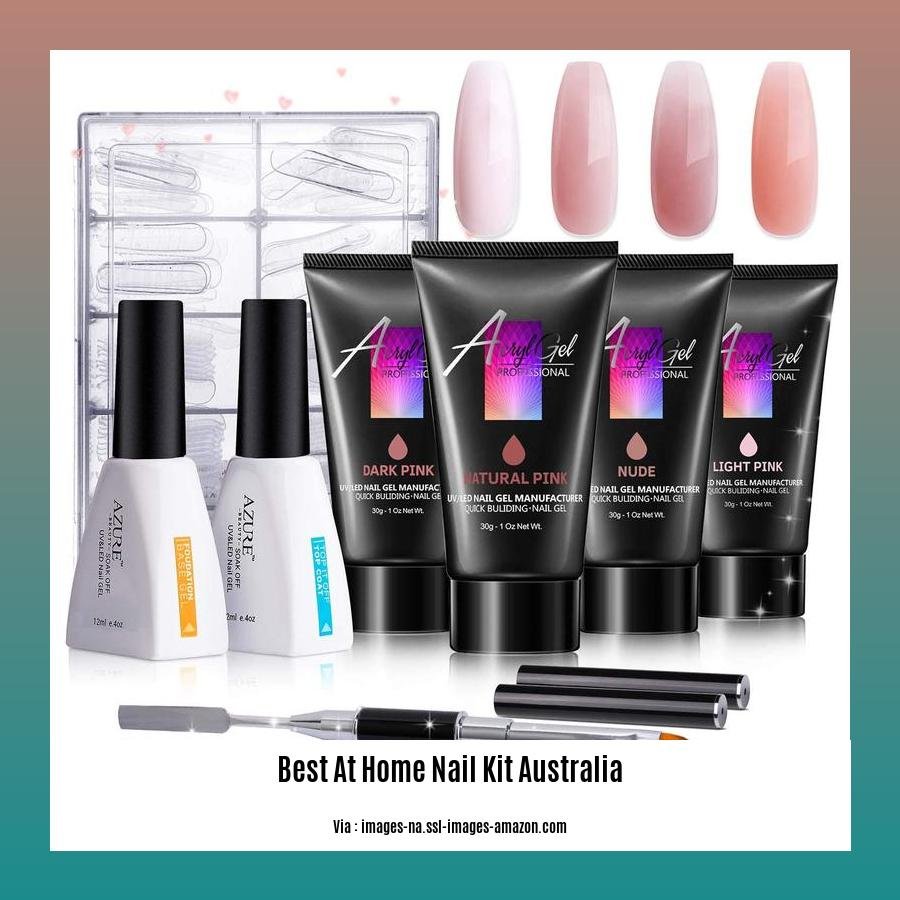
Gel Nail Kits: These kits allow you to achieve a long-lasting, salon-like gel manicure that lasts up to two weeks.
-
Acrylic Nail Kits: If you’re looking for added strength and durability, acrylic nail kits offer a fantastic solution for creating chip-resistant, artificial nails.
Benefits of DIY Nail Kits
-
Convenience: You can pamper yourself with manicures and pedicures whenever you want, saving time and money spent at nail salons.
-
Customization: Unleash your creativity and express your personal style by choosing from a wide range of colors, designs, and embellishments.
-
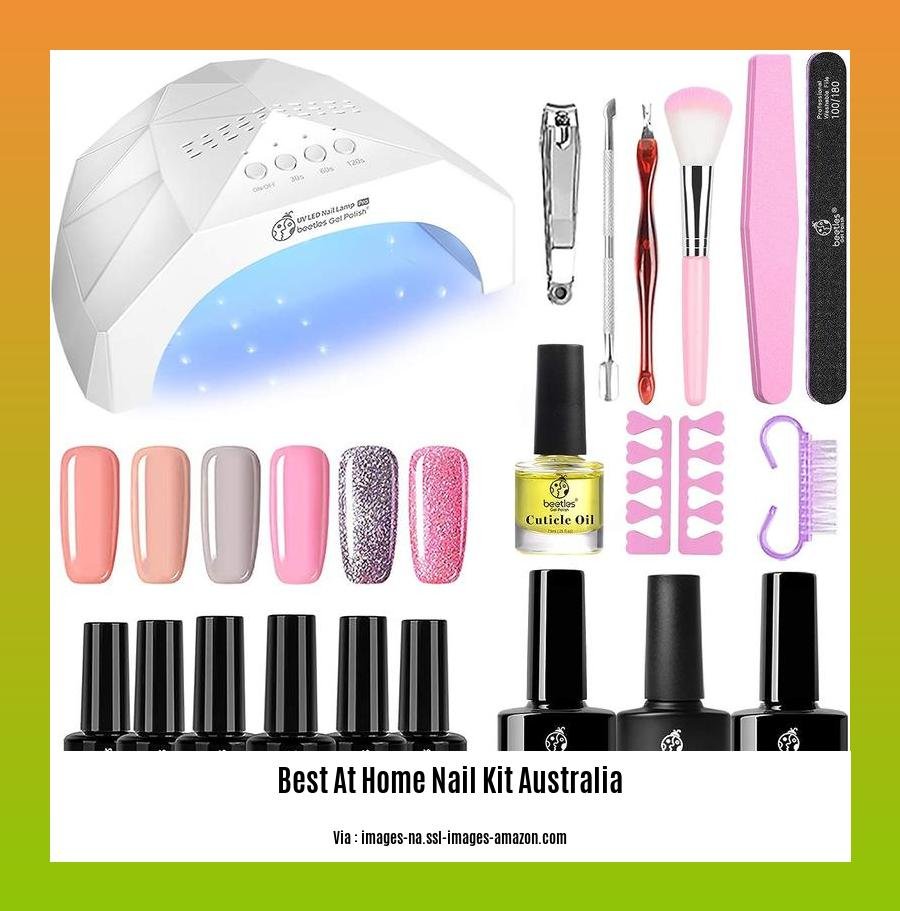
Minimal Equipment Required: Most at-home nail kits come with all the essential tools you need, including UV/LED lamps, nail files, and buffers.
Top-Rated At-Home Nail Kits
-
Gelish PolyGel Nail Enhancement System: This kit provides everything you need for a professional-looking gel manicure. It includes a UV/LED lamp, gel polishes, poly gel, and essential tools.
-
Gellaka Pro Matte or Shine Gel Nail Kit: With its user-friendly design and high-quality products, this kit offers a fantastic choice for beginners and experienced nail enthusiasts.
-
Artistic Nail Design Gel On Xtensions Kit: If you’re looking for a kit that combines convenience and durability, this kit offers gel extensions for long-lasting results.
-
Kredioo Rechargeable Nail Drill for Home Use: Elevate your home nail care routine with this electric nail drill that allows for easy nail shaping, buffing, and cuticle cleaning.
-
Gelish Hard Gel System Starter Kit: This comprehensive kit is perfect for those who desire a long-lasting, chip-resistant manicure. It includes everything you need to create salon-worthy gel nails.
Considerations for Choosing the Best at Home Nail Kit Australia
-
Skill Level: Consider your experience level when choosing a kit. If you’re a beginner, opt for a kit that offers detailed instructions and simple-to-use products.
-
Quality of Products: Look for kits that include high-quality polishes, gels, and accessories to ensure long-lasting, professional-looking results.
-
Included Tools: Make sure the kit contains essential tools like UV/LED lamps, nail files, buffers, and cuticle pushers to avoid purchasing them separately.
-
User Reviews: Take the time to read reviews from other customers to gain insights into their experiences with different kits and make an informed decision.
Embark on your DIY nail art adventure with confidence, knowing that you have the knowledge and tools to achieve salon-quality manicures and pedicures. Remember to practice patience and creativity as you explore the world of home nail care. Embrace the joy of transforming your nails into works of art, and enjoy the satisfaction of stunning results from the comfort of your home!
Are you searching for the best gel nail kit that lets you do your nails like a pro in the comfort of your own home? Explore our wide selection of gel nail kits in Australia and New Zealand! From top brands to budget-friendly options, we have everything you need to create stunning gel nail designs at home. Click on the links provided to find the best at-home gel nail kit for your needs!
Applying Polish: Learn techniques for base coat application, polish application, and top coat application to achieve a long-lasting, chip-free manicure.
Okay, beauties! Let’s dive into the nitty-gritty of achieving a chip-free manicure that’ll make your nails the envy of the town. It’s all about mastering the art of applying polish like a pro. So, grab your favorite polishes and let’s get started!
Key Takeaways:
-
Base Coat: The foundation of your manicure, it creates a smooth surface and protects your nails from staining. Apply a thin, even layer and let it dry completely.
-
Polish Application: Use two thin coats of polish, allowing each coat to dry completely before applying the next. Swipe the brush from the cuticle to the tip using smooth, even strokes.
-
Top Coat: The final touch that seals the deal and protects your manicure from chipping. Apply a thin, even layer and let it dry completely.
Remember, patience is the key to a long-lasting manicure. Rushing the process can lead to smudges and chips. So, sit back, relax, and let each layer dry thoroughly before moving on to the next step.
And there you have it, my dear nail enthusiasts! With these simple techniques, you can achieve a salon-quality manicure from the comfort of your own home. So, let your creativity shine, experiment with different colors and designs, and enjoy your chip-free nails!
[Citations:]
Maintaining a Manicure: Discover tips for extending the life of your manicure, including proper nail care, avoiding harsh chemicals, and using cuticle oil.
Here are a few tricks to maintain a perfect looking manicure:
-
Preparation is Key:
-
Buff and Clean: Gently buff your nails to smooth surfaces and remove debris. Cleanse nails with a gentle, oil-free nail polish remover to eliminate oil and dirt.
-
Push and Trim: Encourage healthy growth by gently pushing back your cuticles with a cuticle stick. Trim hangnails to prevent tearing and infection.
-
Stay Protected: Wear gloves when cleaning, gardening, or handling harsh chemicals. Avoid exposing naked nails to water for long durations, as this can cause them to become brittle.
-
Quality Product Selection:
-
Foundation Matters: Choose a high-quality base coat to promote polish adherence and protect nails from staining. A durable top coat is also key to prevent chipping and extend the life of your manicure.
-
Color Combo: Opt for nail polishes free of harsh chemicals like toluene, formaldehyde, and dibutyl phthalate (DBP). These chemicals can damage nails, causing yellowing and brittleness.
-
Application Technique:
-
Thin Layers: Apply thin coats of nail polish, allowing each layer to dry completely before applying the next. Thin coats reduce the risk of smudging and chipping.
-
Avoid Touching: Resist the urge to touch your nails immediately after painting them. Let the polish dry completely to ensure a smooth, even finish.
-
Top it Off: Seal your manicure with a top coat for extra protection and a glossy sheen. Top coats also help prevent fading and chipping.
-
Moisturize and Nourish:
-
Cuticle Care: Apply cuticle oil or cream daily to keep cuticles moisturized and healthy. Healthy cuticles promote strong, healthy nail growth.
-
Regular Breaks: Give your nails a break from polish every few weeks to allow them to breathe and recover. During this break, focus on nourishing your nails with cuticle oil and strengthening treatments.
-
Routine Care:
-
File Wisely: File your nails in one direction to prevent splitting and chipping. Avoid using a back-and-forth motion, which can weaken the nail structure.
-
UV Protection: Protect your hands and nails from harmful UV rays by wearing gloves when outdoors. UV exposure can cause nails to become brittle and discolored.
-
Healthy Lifestyle: Maintain a balanced diet, drink plenty of water, and get enough sleep to support overall nail health. Healthy nails are less prone to breakage and chipping.
Key Takeaways:
- Preparation: Proper nail prep, including buffing, cleaning, and cuticle care, ensures a long-lasting manicure.
- Quality Products: Choose high-quality base coats, nail polishes, and top coats to protect your nails and extend the life of your manicure.
- Application Technique: Apply thin layers of polish and allow each layer to dry completely. Seal with a top coat for extra protection.
- Moisturize and Nourish: Regularly moisturize cuticles and give nails breaks from polish to promote healthy growth.
- Routine Care: File nails in one direction, protect from UV rays, and maintain a healthy lifestyle for stronger, healthier nails.
Sources:
- Allure: How to Make Your Manicure Last Longer
- Vogue India: 15 Nail Care Tips For Healthy and Strong Nails
Additional Tips and Tricks: Explore creative nail art ideas, hacks for quick drying, and efficient removal methods to enhance your at-home nail care routine.
Hey there, nail enthusiasts! Ready to transform your home into a nail salon and achieve salon-quality manicures and pedicures? Before diving into the world of at-home nail art, let’s uncover some creative ideas, quick-drying hacks, and efficient removal methods to elevate your nail care routine.
Key Takeaways:
-
Unleash your creativity with boundless nail art possibilities like freestyled swirl lines, periwinkle blue shades, and marbled designs.
-
Accelerate your drying time by using quick-drying polishes, employing a hairdryer (on a cool setting), or immersing nails in ice water.
-
Protect your skin from polish smudges by applying petroleum jelly around the nails before painting.
-
Utilize nail art tape and toothpicks for precise designs and patterns.
-
Avoid thick coats of polish; apply thin, even layers for a smoother finish and better adherence.
-
Cleanup is a breeze with acetone or non-acetone polish remover and cotton balls.
-
Nourish your nails with cuticle oil or moisturizer to maintain healthy, strong nails.
-
Experiment, have fun, and remember that nail art is a form of self-expression, so let your creativity shine through!
Creative Nail Art Ideas:
-
Swirled Beauty: Create random, freestyled swirl lines of varying thickness using a fine detail brush.
-
Marbled Masterpiece: Blend different colors together on a wet polish base for a unique marbled effect.
-
Tape Art Precision: Use nail art tape to create clean lines and geometric patterns.
-
Toothpick Designs: Use toothpicks to dot, drag, or create intricate lines for delicate nail art.
-
Periwinkle Paradise: Embrace the elegance of periwinkle blue, a shade loved by celebrities like Selena Gomez.
Hacks for Quick Drying:
-
Speedy Polish: Opt for quick-drying nail polishes that set faster, reducing smudging and allowing for a quicker overall process.
-
Hairdryer Helper: Use a hairdryer on a cool setting to accelerate the drying time of your nails.
-
Icy Dip: Dip your freshly painted nails in ice water for a few minutes to speed up the drying process.
Efficient Removal Methods:
-
Acetone Magic: Acetone-based polish removers are effective for removing regular nail polishes.
-
Non-Acetone Alternative: Use non-acetone polish removers for gentler removal, especially for sensitive nails.
-
Cotton Ball Precision: Soak cotton balls in the chosen remover and gently wipe each nail to remove the polish.
-
Protect Your Skin: Apply petroleum jelly around your nails before painting to prevent smudges and ease the cleanup process.
Nail Care Routine Tips:
-
Thin Layer Technique: Avoid thick coats of polish; apply thin, even layers for a smoother finish and better adherence.
-
Nourish Your Nails: Regularly apply cuticle oil or moisturizer to maintain healthy, strong nails.
-
Experiment and Have Fun: Nail art is a form of self-expression, so let your creativity shine through and experiment with different designs.
[Sources:
1.
2.
FAQ
Q1: What factors should I consider when choosing an at-home nail kit in Australia?
A1: When selecting an at-home nail kit in Australia, consider your skill level, the quality of products, the included tools, and user reviews. Choose a kit that matches your expertise and includes high-quality polishes, gels, and essential tools like UV/LED lamps, nail files, and cuticle pushers. Read online reviews to gather insights into other customers’ experiences.
Q2: Which at-home nail kits are the most popular and highly rated in Australia?
A2: Some of the top-rated at-home nail kits in Australia include the Gelish PolyGel Nail Enhancement System, Gellaka Pro Matte or Shine Gel Nail Kit, Artistic Nail Design Gel On Xtensions Kit, Kredioo Rechargeable Nail Drill for Home Use, and Gelish Hard Gel System Starter Kit. These kits offer various options for gel and acrylic nails, allowing you to achieve salon-quality results at home.
Q3: How can I ensure that my at-home manicure or pedicure lasts longer?
A3: To extend the longevity of your at-home manicure or pedicure, use high-quality nail polish products, apply thin and even coats, allow each layer to dry completely, and finish with a top coat. Avoid exposing the manicure to water or harsh chemicals for prolonged periods. Additionally, moisturize cuticles regularly, take breaks between manicures, and visit a professional nail technician for regular maintenance.
Q4: Are there any specific techniques or tips I should follow to achieve a flawless at-home manicure or pedicure?
A4: For a flawless at-home manicure or pedicure, ensure proper nail prep by filing nails, removing cuticles, and buffing the nail surface. Apply a base coat before the nail polish and allow each layer to dry completely. Use high-quality nail polish and apply thin coats, avoiding streaks and bubbles. Finish with a top coat to protect the manicure. Additionally, consider using tools like nail art brushes, dotting tools, and striping tape to create intricate designs.
Q5: Where can I find additional resources and information on at-home nail kits and techniques?
A5: Numerous online resources and platforms provide valuable information on at-home nail kits and techniques. Websites like Stay at Home Mum, Marie Claire, The Beautyholic, and Allure offer comprehensive guides, reviews, and tutorials on selecting and using at-home nail kits effectively. Additionally, social media platforms like Instagram and Pinterest are excellent sources of inspiration and ideas for creating stunning nail art designs at home.

- Dora the Explorer Wipe-Off Fun: Safe & Mess-Free Activities for Little Explorers - April 18, 2025
- Does Lemongrass Repel Mosquitoes? Fact vs. Fiction + How to Use It - April 18, 2025
- Do Woodchucks Climb Trees?Fact vs. Fiction - April 18, 2025